And now, for the first time ever, the camper in all of it’s full height glory. Still lots of work to do but I could take somewhere and set up a cot and plug in a fan (powered by the new electricity) and spend the night.
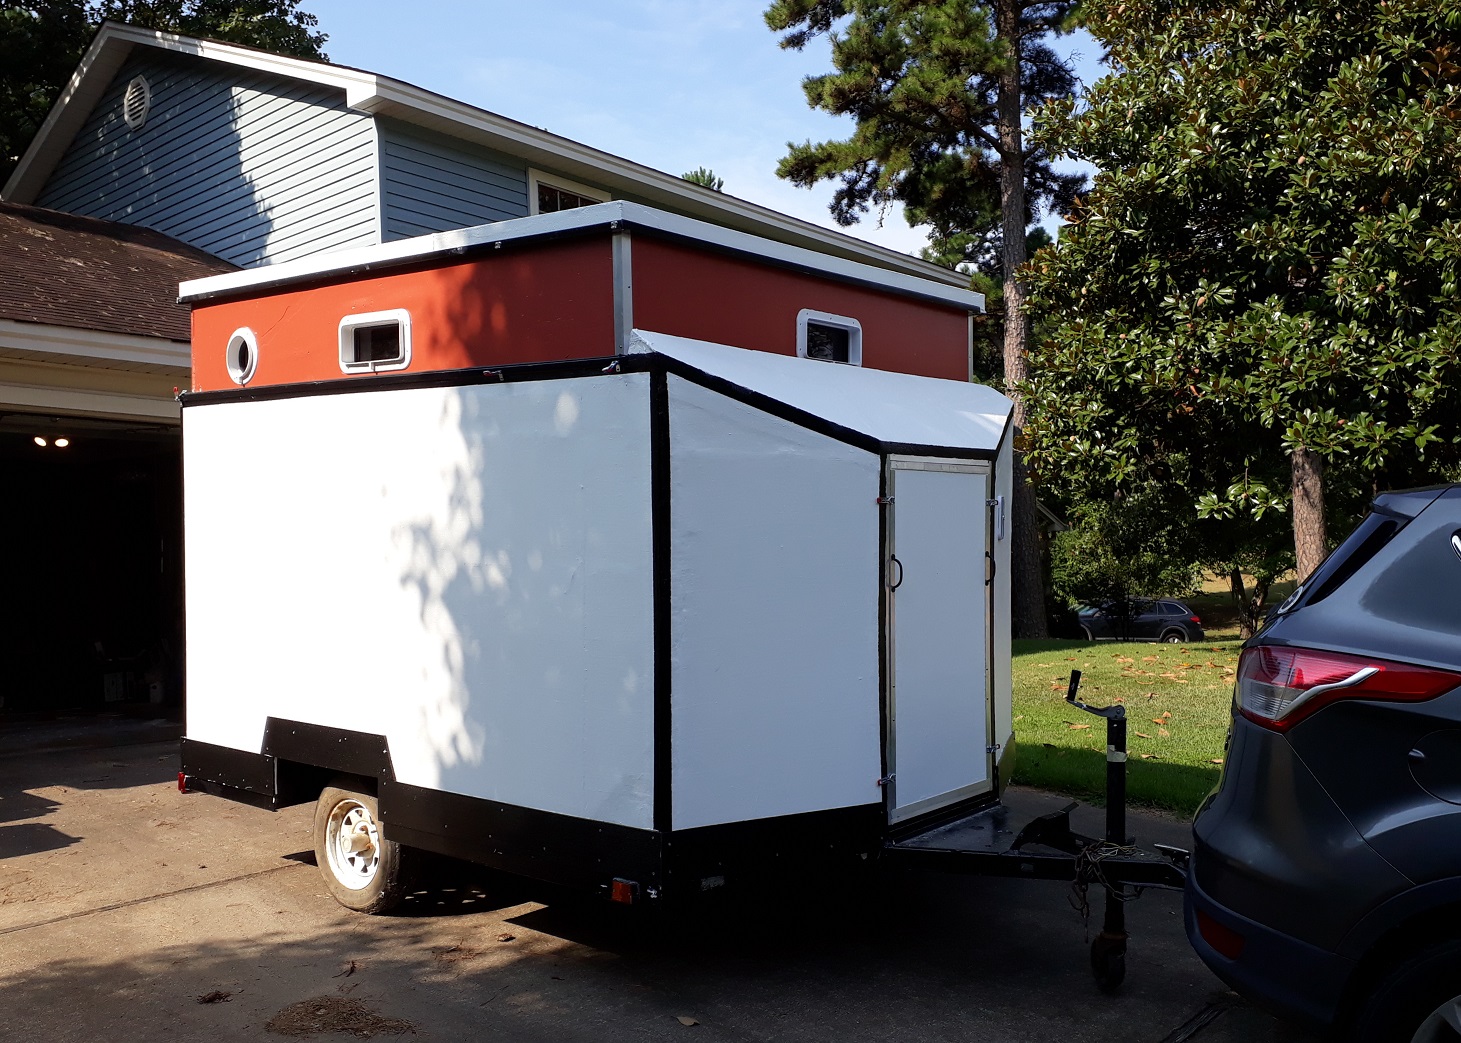
And now, for the first time ever, the camper in all of it’s full height glory. Still lots of work to do but I could take somewhere and set up a cot and plug in a fan (powered by the new electricity) and spend the night.
And now there is electricity in the cabin powered by 30 amp 110v cord running to shore power.

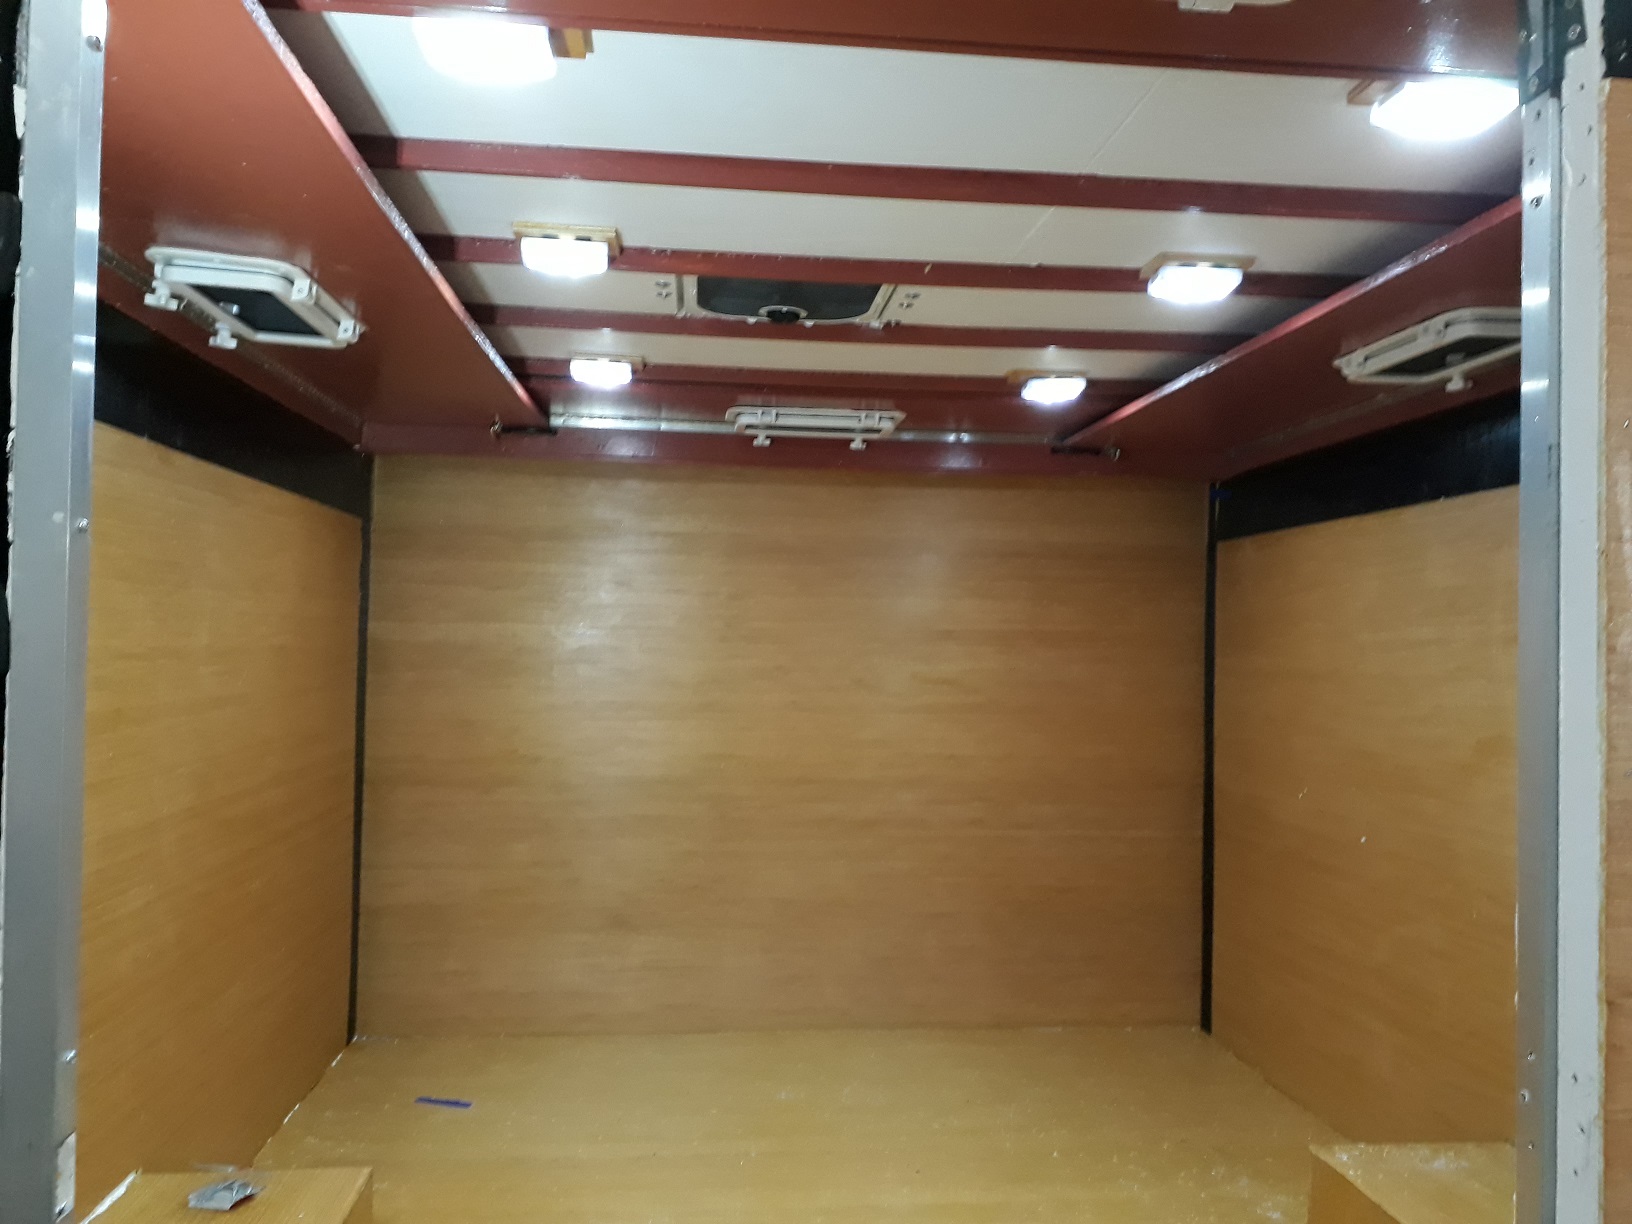
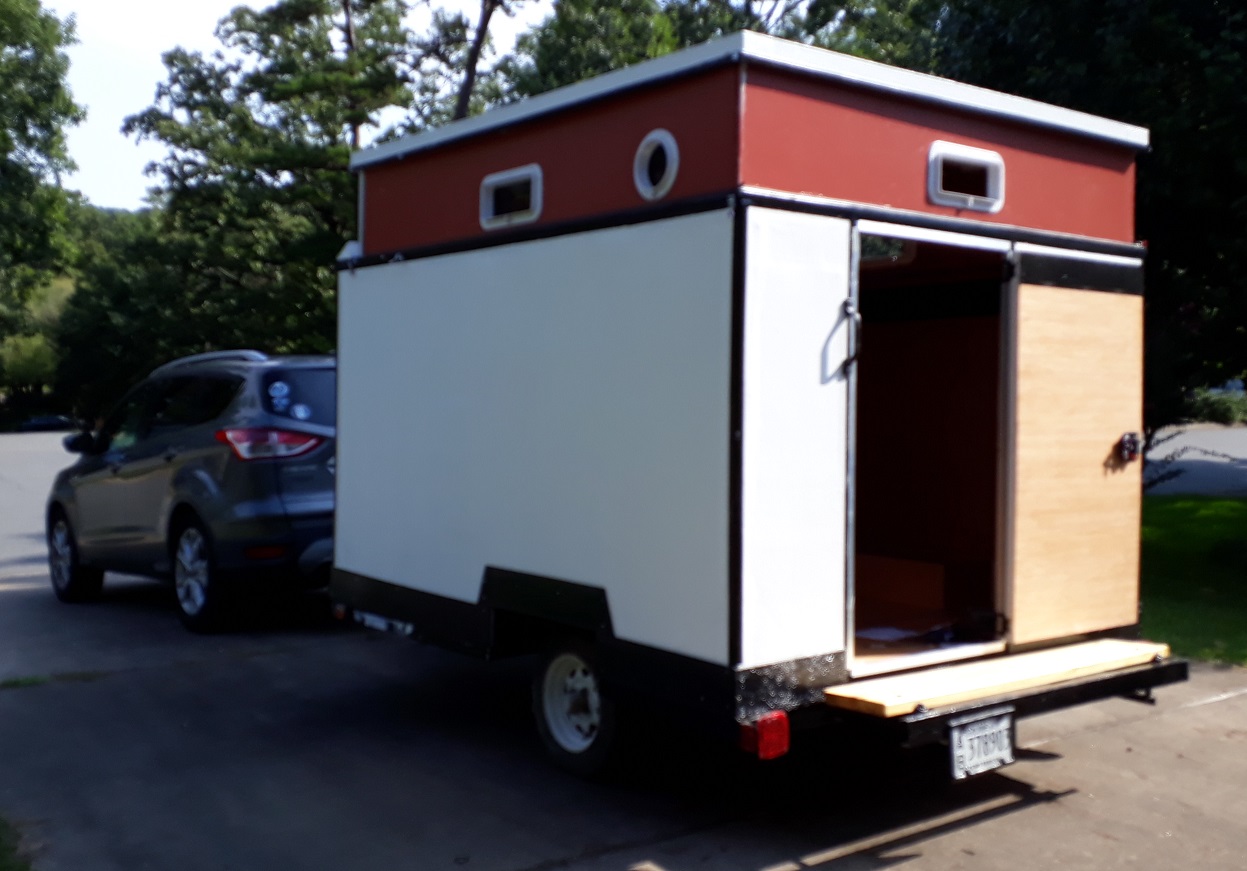
I guess I won’t make my self imposed deadline of today to get the camper out somewhere, probably the RRO as I have access to that. However, today I rehung the door and found it to be too large. Weird as it did fit before but there were several coats of paint and I put caulk on the aluminum angle before putting it back on. I rasped the door and bit and it fits though tight.Put shelves in the cargo area up front, tweaked the electrical a little bit but haven’t run the wiring into the cabin yet.Installed six latches to hold the lid down when the flip ups are down. Each is supposedly able to hold my weight and more. The last thing I want is the lid to fly off while in transit. Here are six LED switch lights like those you find at Harbor Freight, regularly $4.49 now on sale for $2.99. They seem to do a good job and also when in use the camper will have six windows to let natural light in. I thought about blue lights that are free almost every weekend, I have a dozen or so, but preferred the simple on/off of these. These are running on four AAA batteries each and if I find myself switching out batteries too much I’ll consider wiring them together and attaching to a six volt lantern battery.