Camper Build 5/27/2018

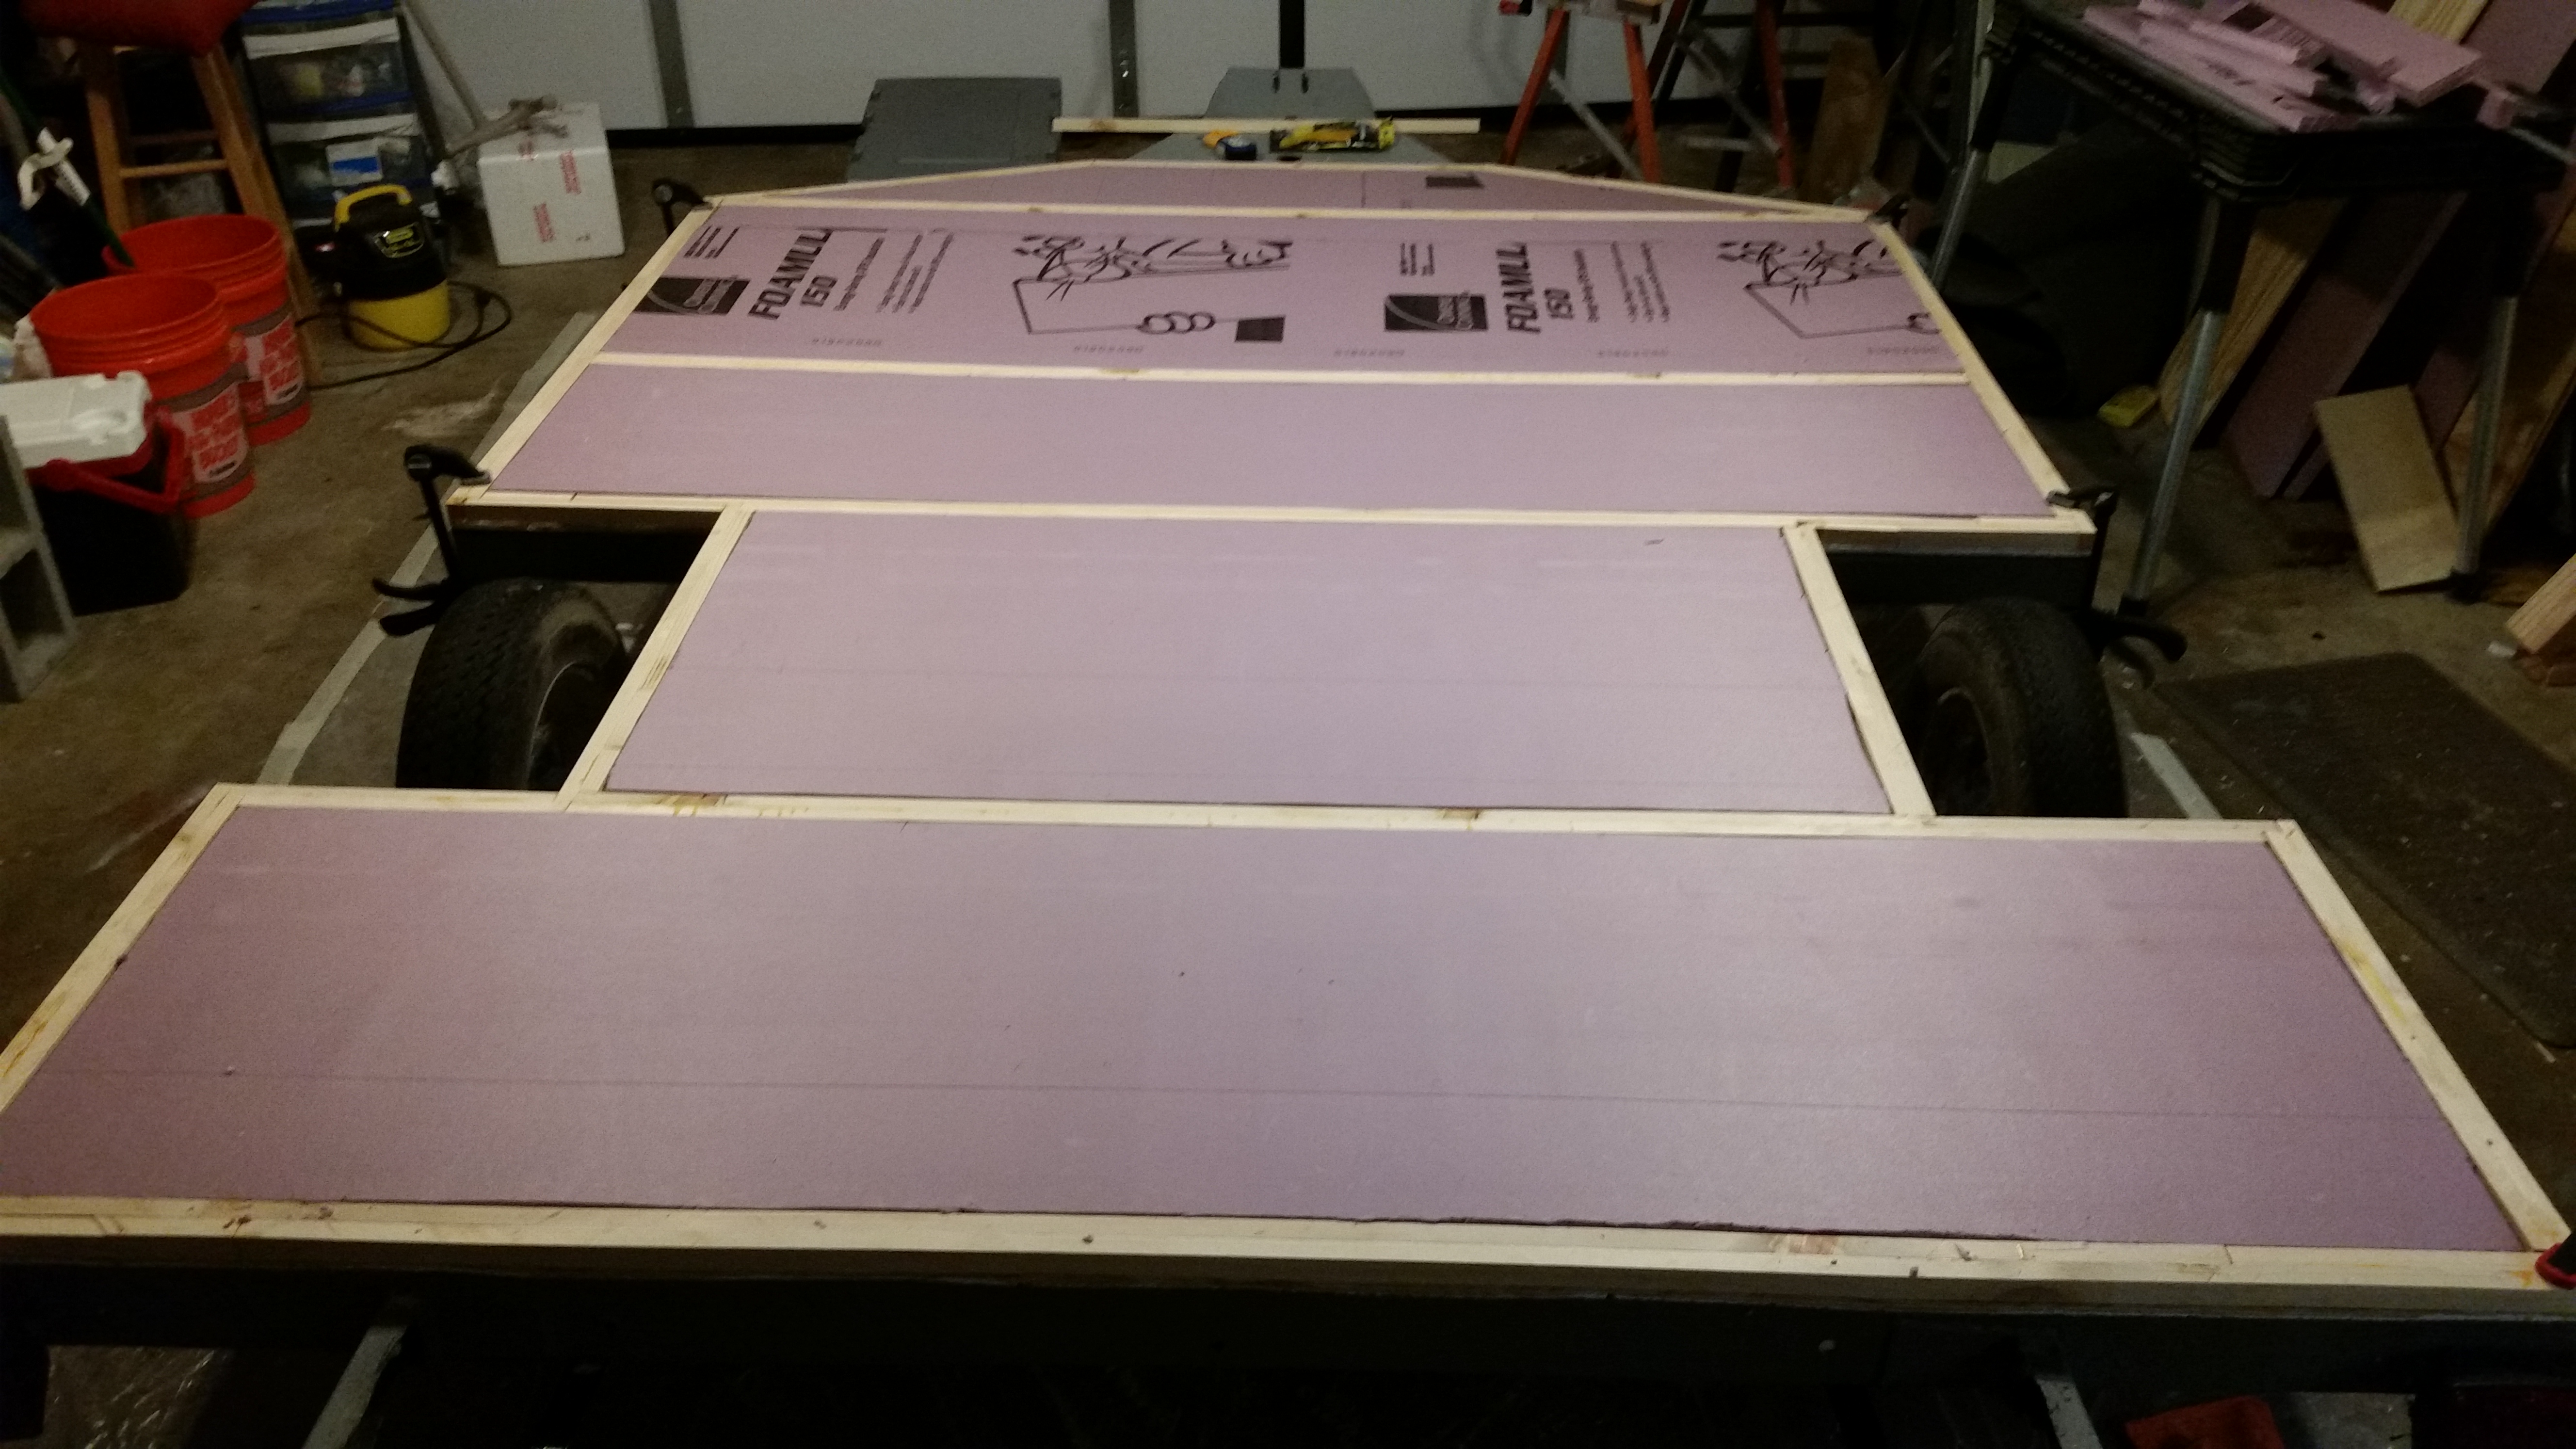
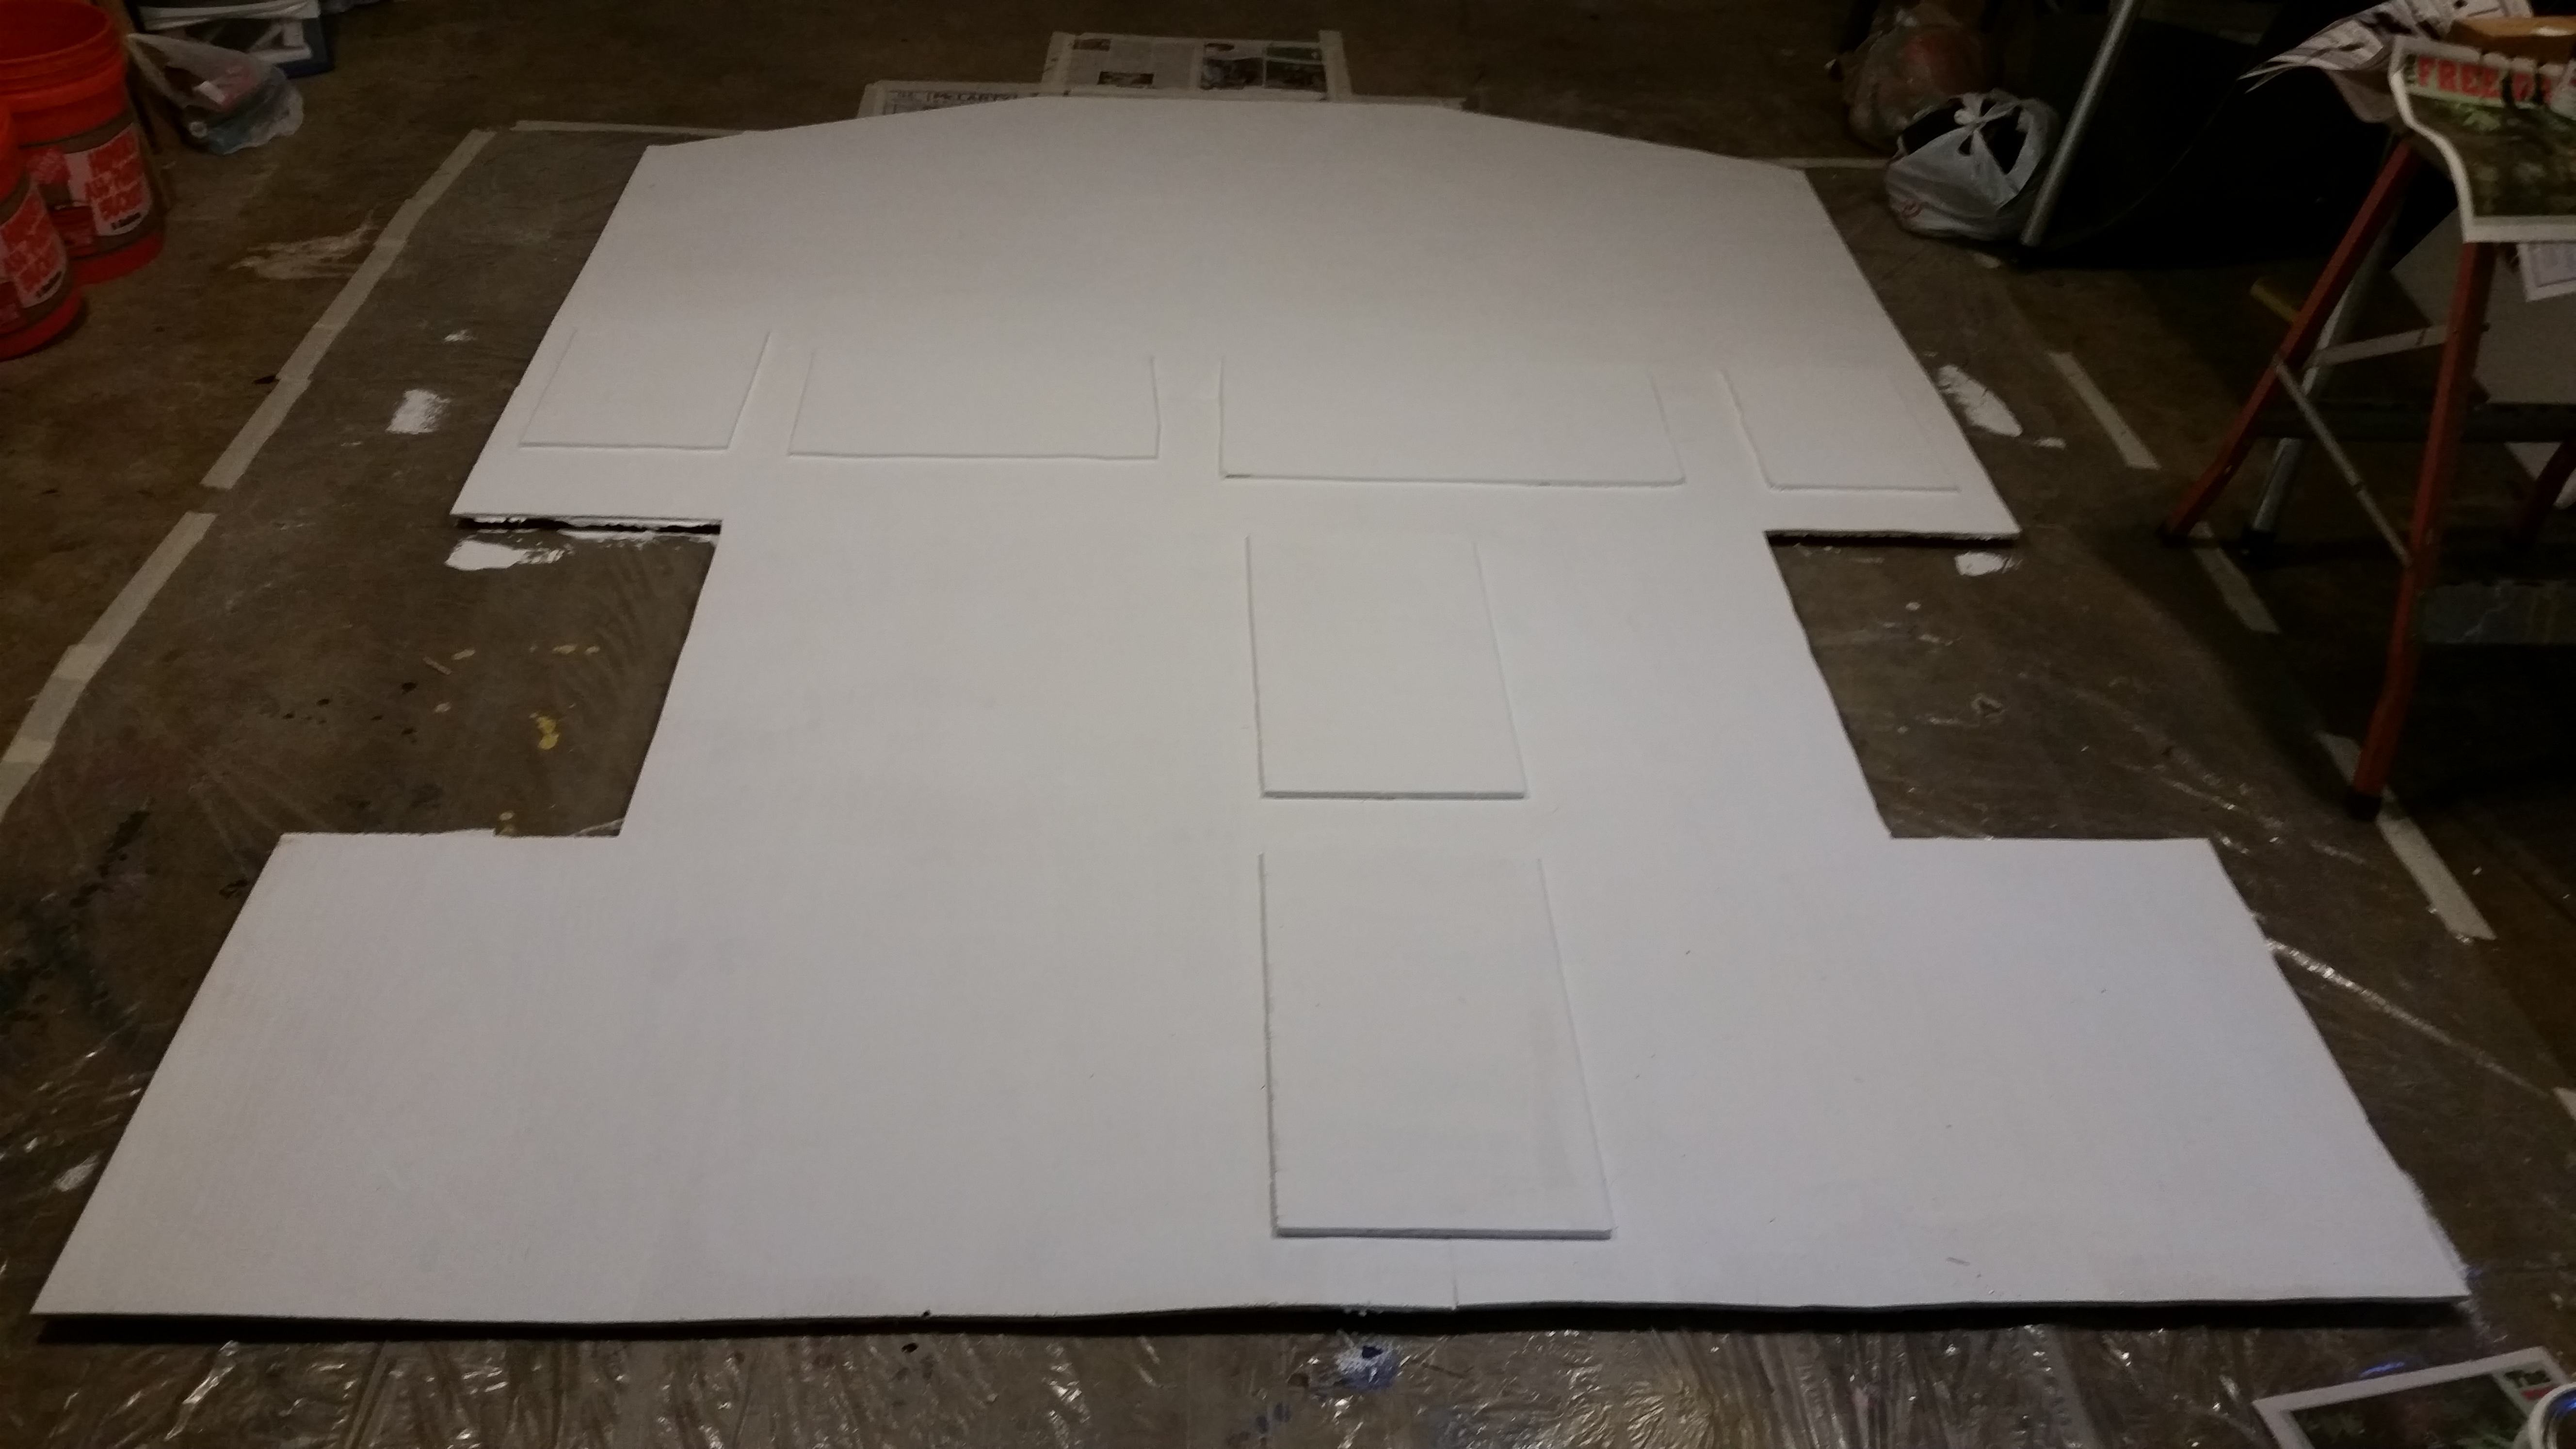
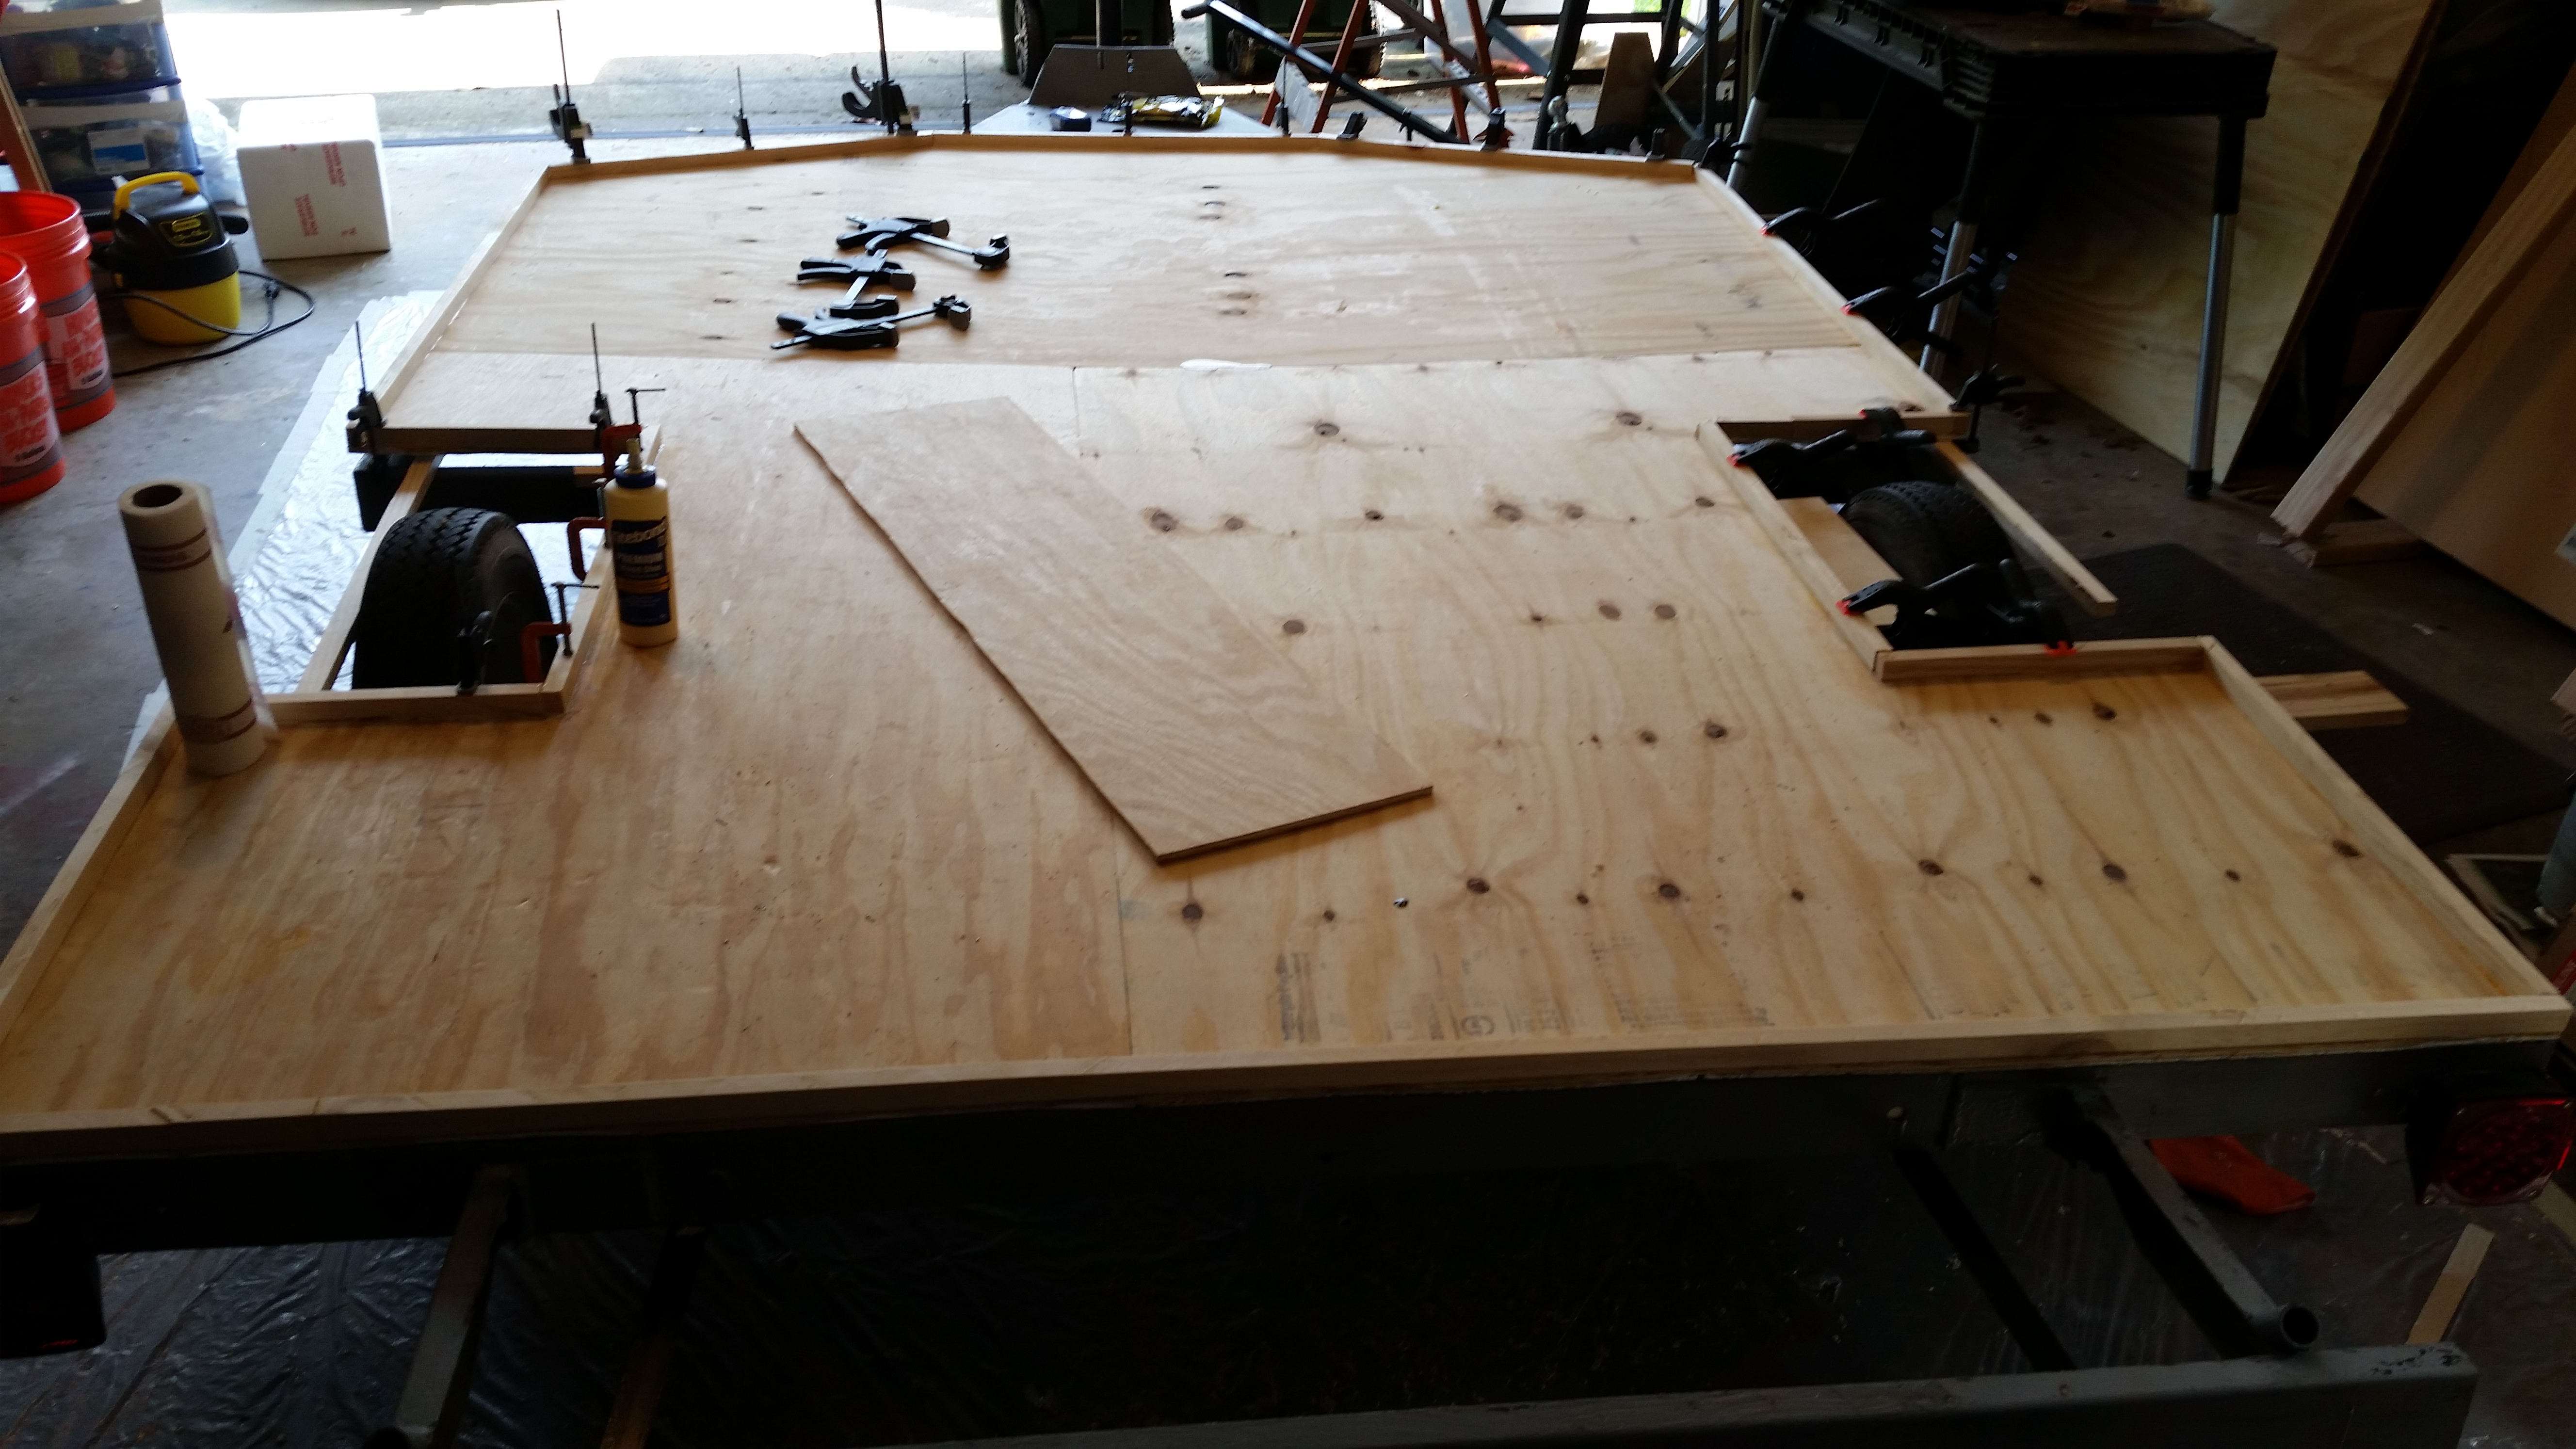
About 30 minutes ago I reached a milestone with the camper project. Here you see the floor glued and stapled down. It’s made up of plywood, rigid foam, and plywood. It would have been much easier to just use 3/4″ exterior plywood and be done with it but this should be just as strong or stronger and is insulated. Next I guess will be to polyurethane the living daylights out of the top and sides. There is a thing called “the mix” among camper builders where you mix polyurethane with mineral spirits to thin it and that soaks in really well to seal the wood forever. I will do that here.
I’ll also rip more 1x8s to make perfect 1″ lumber to match my rigid foam’s thickness as I start the walls.

Camper Build 5/25/2018

Since the last time I posted, I’ve doubled the width of the 1x boards and added three cross beams.  I’m taking 1×8 boards and ripping them on my table saw to a perfect 1″ width which here is vertical to match the thickness of the foam. I can get 6 1″ boards out of a single actually 7.25″ 1×8 with a .5″ strip left over.  Then I’m gluing two of them together to make a 1″x1.5″ board. More work and more glue but not as much waste as ripping 2x2s.  Then three cross beams directly over the cross beams on the trailer. Double thickness as I’ll be running bolts through them in places to secure the floor.

Then the rigid foam and the top layer of 1/4″ plywood that will be the surface I walk on. The bottom plywood is 11/32″ BC exterior plywood, the top is 1/4″ “RevolutionPly” which is called interior but supposedly made with with exterior glue.  I got three sheets of that for the cost of 2 exterior sheets of the same price. Hopefully that was not a mistake, so far so good. 

Next step will be to drill some holes and secure the floor to the trailer, then adhere the foam to that, then glue and staple the top to the foam and 1x lumber.

Camper Build 5/20/2018

Some progress on the camper. First, bottom side up we see the floor with four coats of paint. Next, flipped over right side up and sitting on the trailer we have 1″ boards gluing in place around the perimeter. Finally, the 1″ rigid foam that will be part of the floor. Later today I might enlist help in cutting the plywood for the top of the floor.
What I will do is get some more Glidden Gripper, which is the go to paint for these projects, and paint the plywood seen in the middle picture and also one side of the foam and put them together. Then repeat with the top side of the foam and the bottom of the top piece of plywood. The gripper, so named because of its adhesive properties will glue it all together. The foam has a lot of compressive strength while the plywood is strong lengthwise. The combination will be strong and light.

LinkedIn
LinkedIn
Share