9/29/2019 Camper Saga Continues

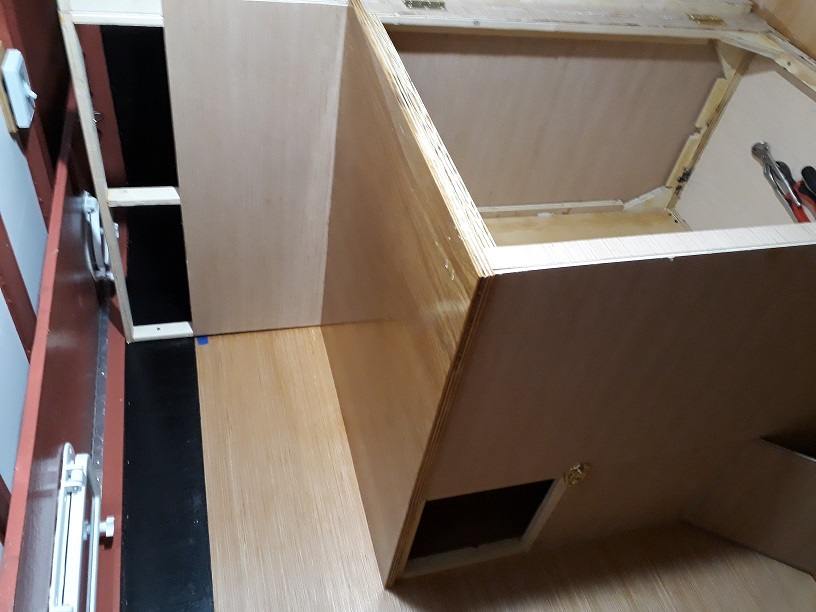
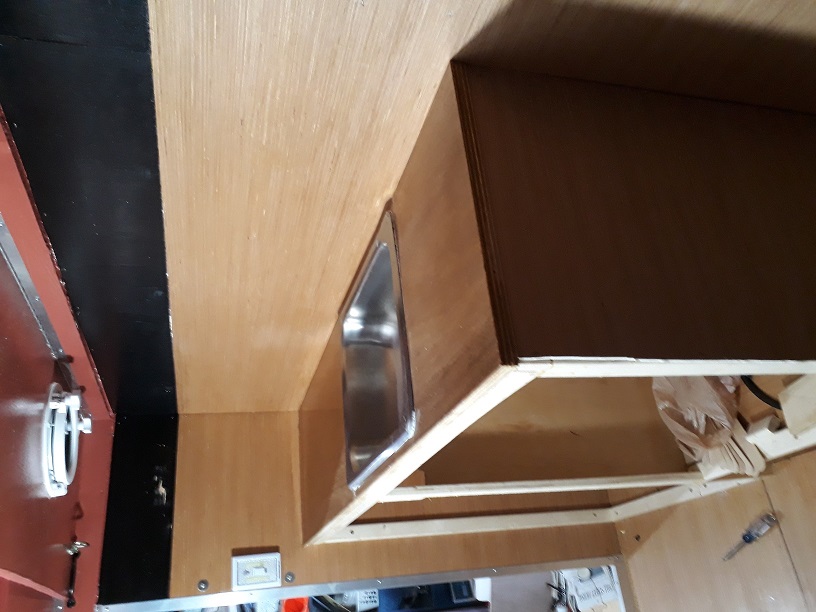
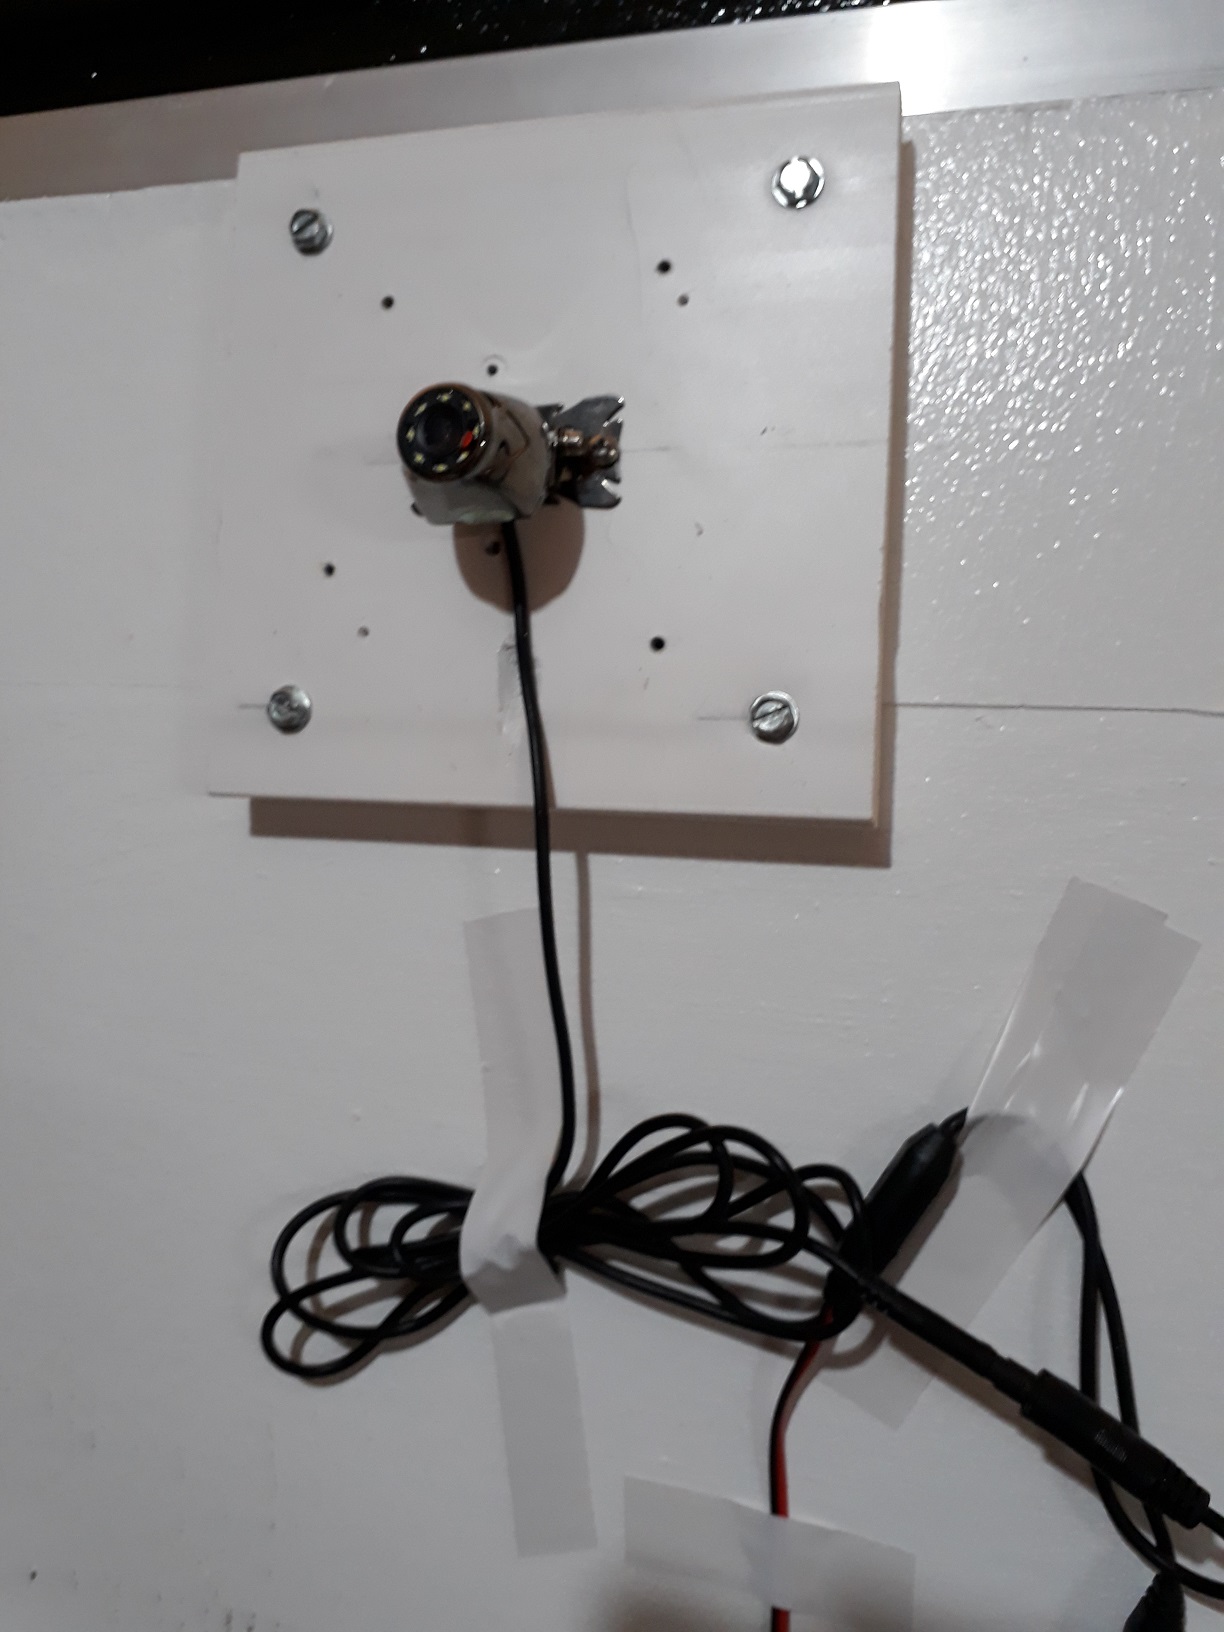
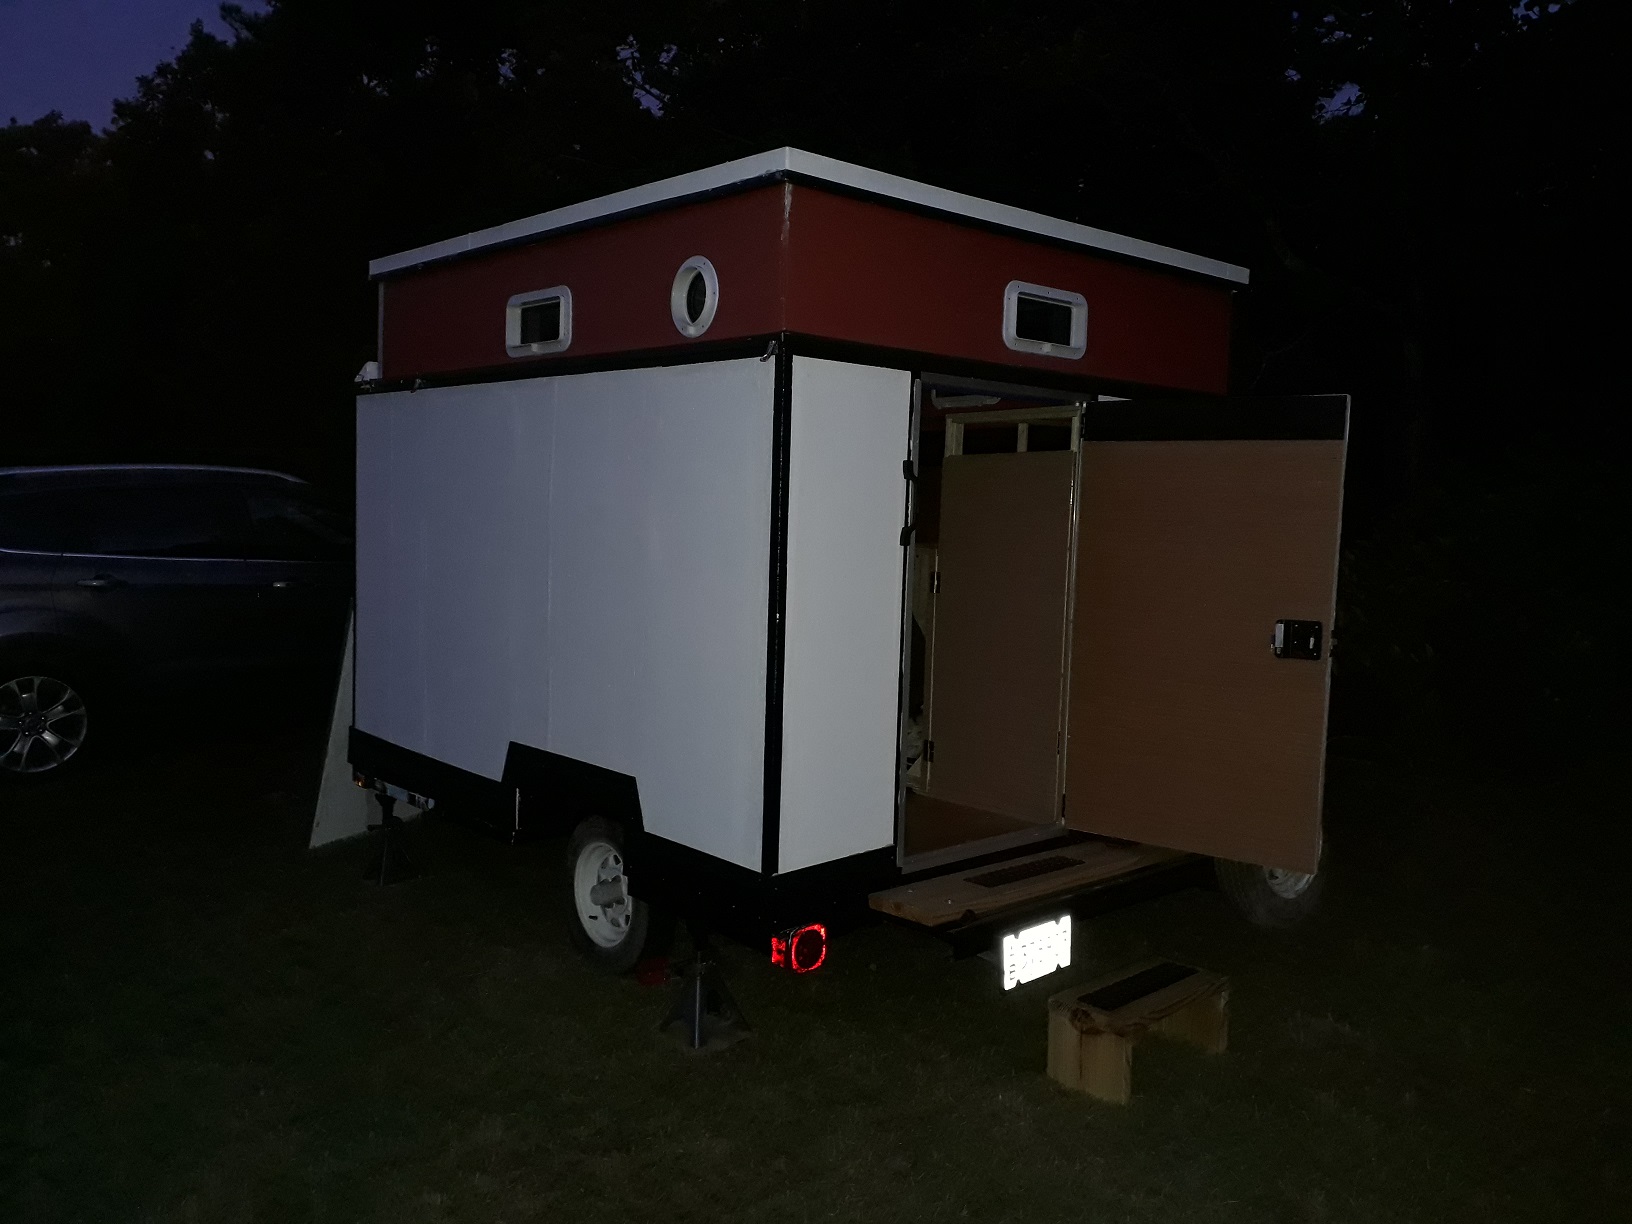
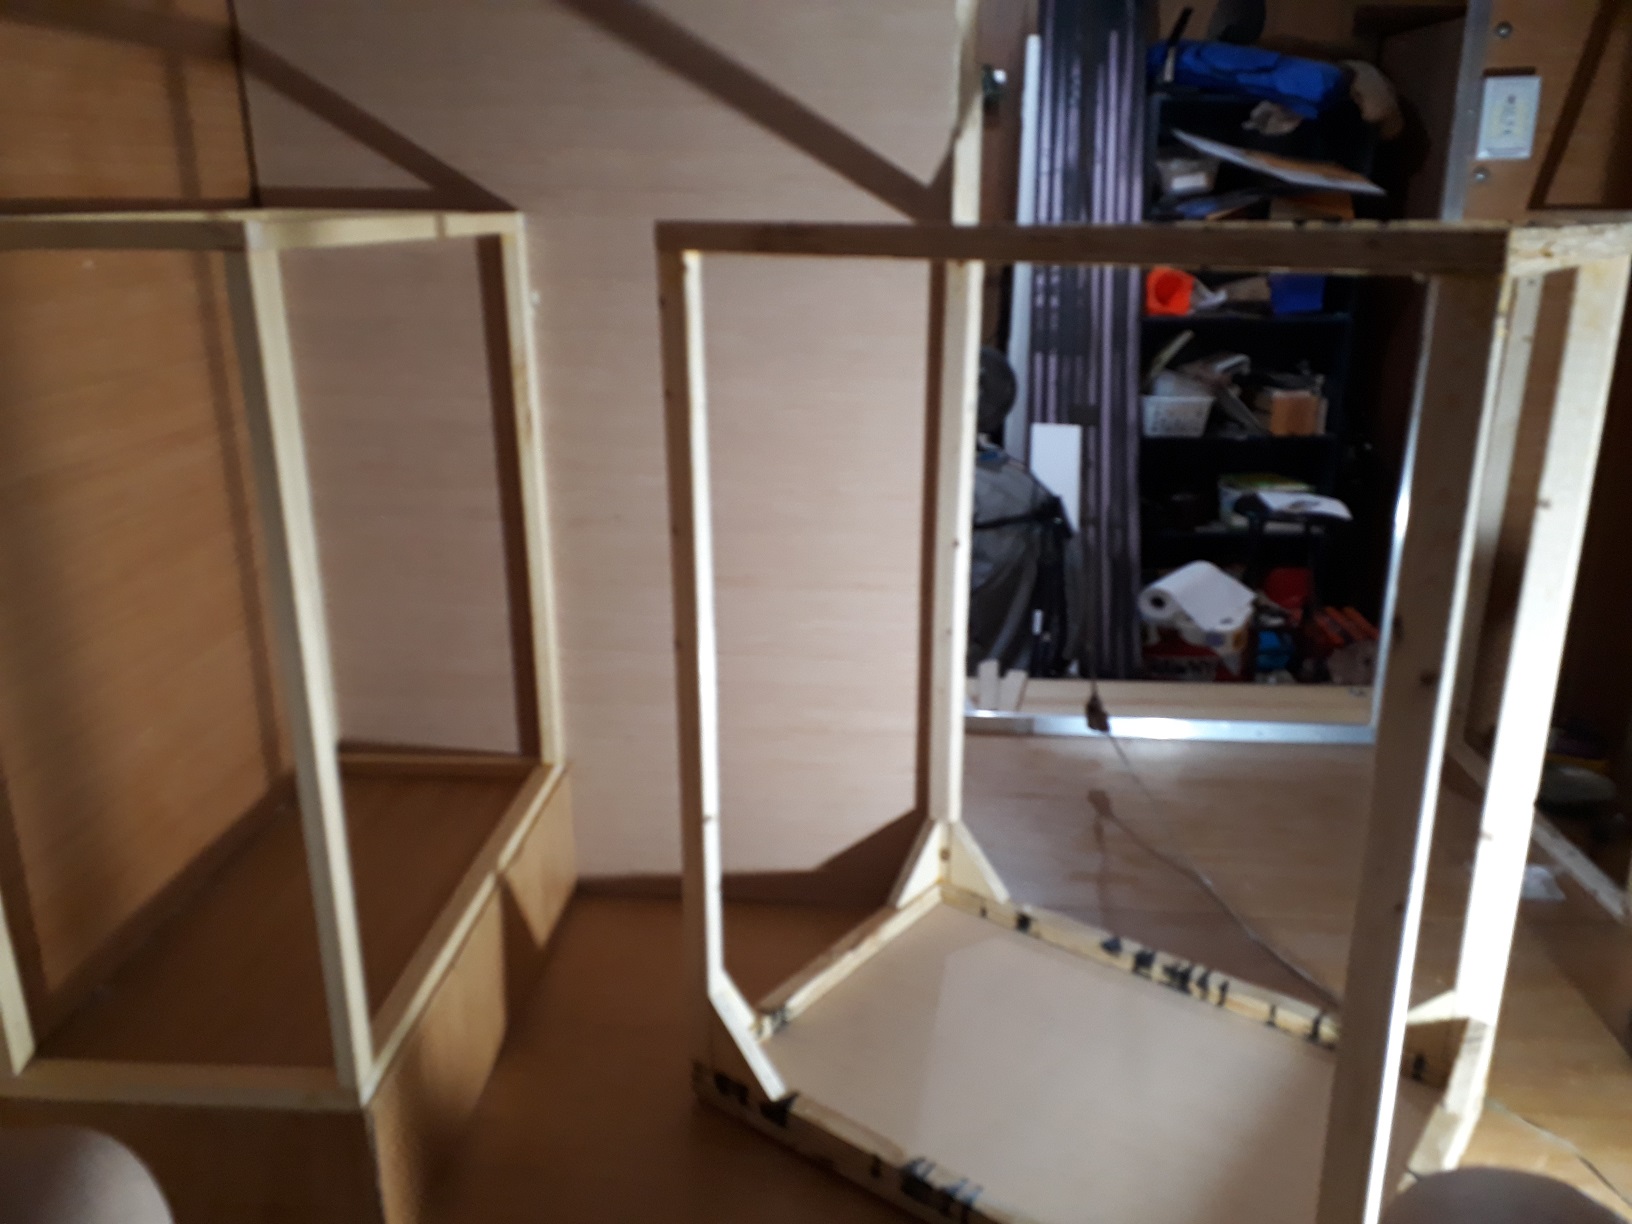
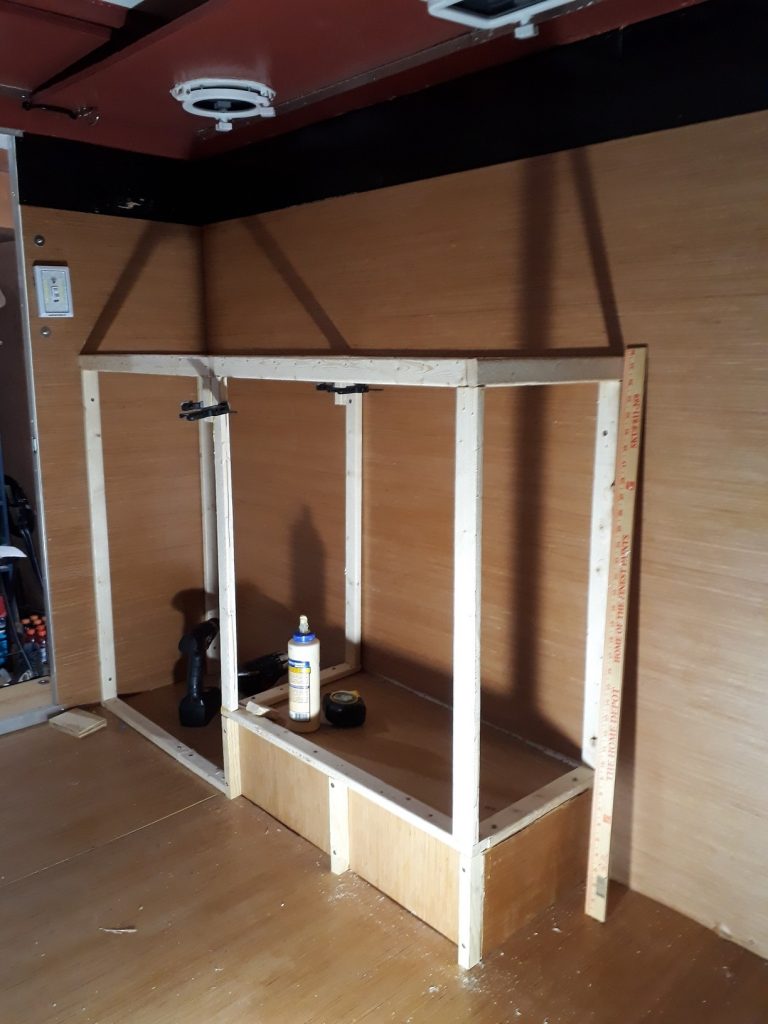
These pictures are from Friday the 27th. The swinging cabinet with hidden storage compartment (I guess the latch might be a tell-tale giving away the secret), the galley with sink, and finally the rear view camera with its temporary tape to hold cables in place.Saturday I took the trailer to the River Ridge Observatory to spend the night. I drove it up in the morning because I had never driven it farther than 20 feet and wanted to avoid traffic. I failed to take into account the Big Dam Bridge 100 Bike Race which goes along Highways 300 and 113, the two ways to get to RRO from Little Rock. The rear view camera did a good job except when we were around a lot of interference like traffic lights and such.The second set of images are from Sunday morning the 29th before I drove home.It still needs work on the flip up walls/lift up roof but that is the most complicated part of the structure.I also need to practice my backing up skills.


9/21/2019 Hinged Storage

Today, for the camper, I added a hinged storage unit (the frame at least) and I think its kinda cool. In its closed position, it fits snugly to the storage that is attached to the wall. Their tops are even so they will have an even top that is about 26×32. The new unit is hinged at the outside surface and opens very smoothly on four 2″ square furniture glides. The wall unit will store items we don’t need as frequently while the slider which will open on the side facing the galley will have stuff we need more often. Since this has nothing to brace to, as the other does, I added wooden triangles to support it and spent most of the day waiting for glue to dry. At every step I remeasured and it all paid off with the two units coming together at the top.

9/15/2019 Galley Framing

So far today, I’ve framed in the galley. I dragged out the stainless steel sink I salvaged from the dilapidated popup tent camper whose trailer became the foundation of this travel trailer. The sink will go over the tire well in the foreground. The top will be melamine board. This frame is attached to the rest with screws only, no glue, in case I ever have to take it out. The frame itself is glued and nailed together. That Porter Cable air compressor with nail guns and stapler has been a wonderful tool. I’ve learned to hold onto scraps in case I find a use but I think I think I outdid myself today. I had a 1/2 inch of board left over from a cut and tossed in the trash can. Later I found myself with a half inch gap that didn’t need to be structurally strong so I fished this out and put glue on both sides and slid it in place.

LinkedIn
LinkedIn
Share