Camper Build 8/11/2018

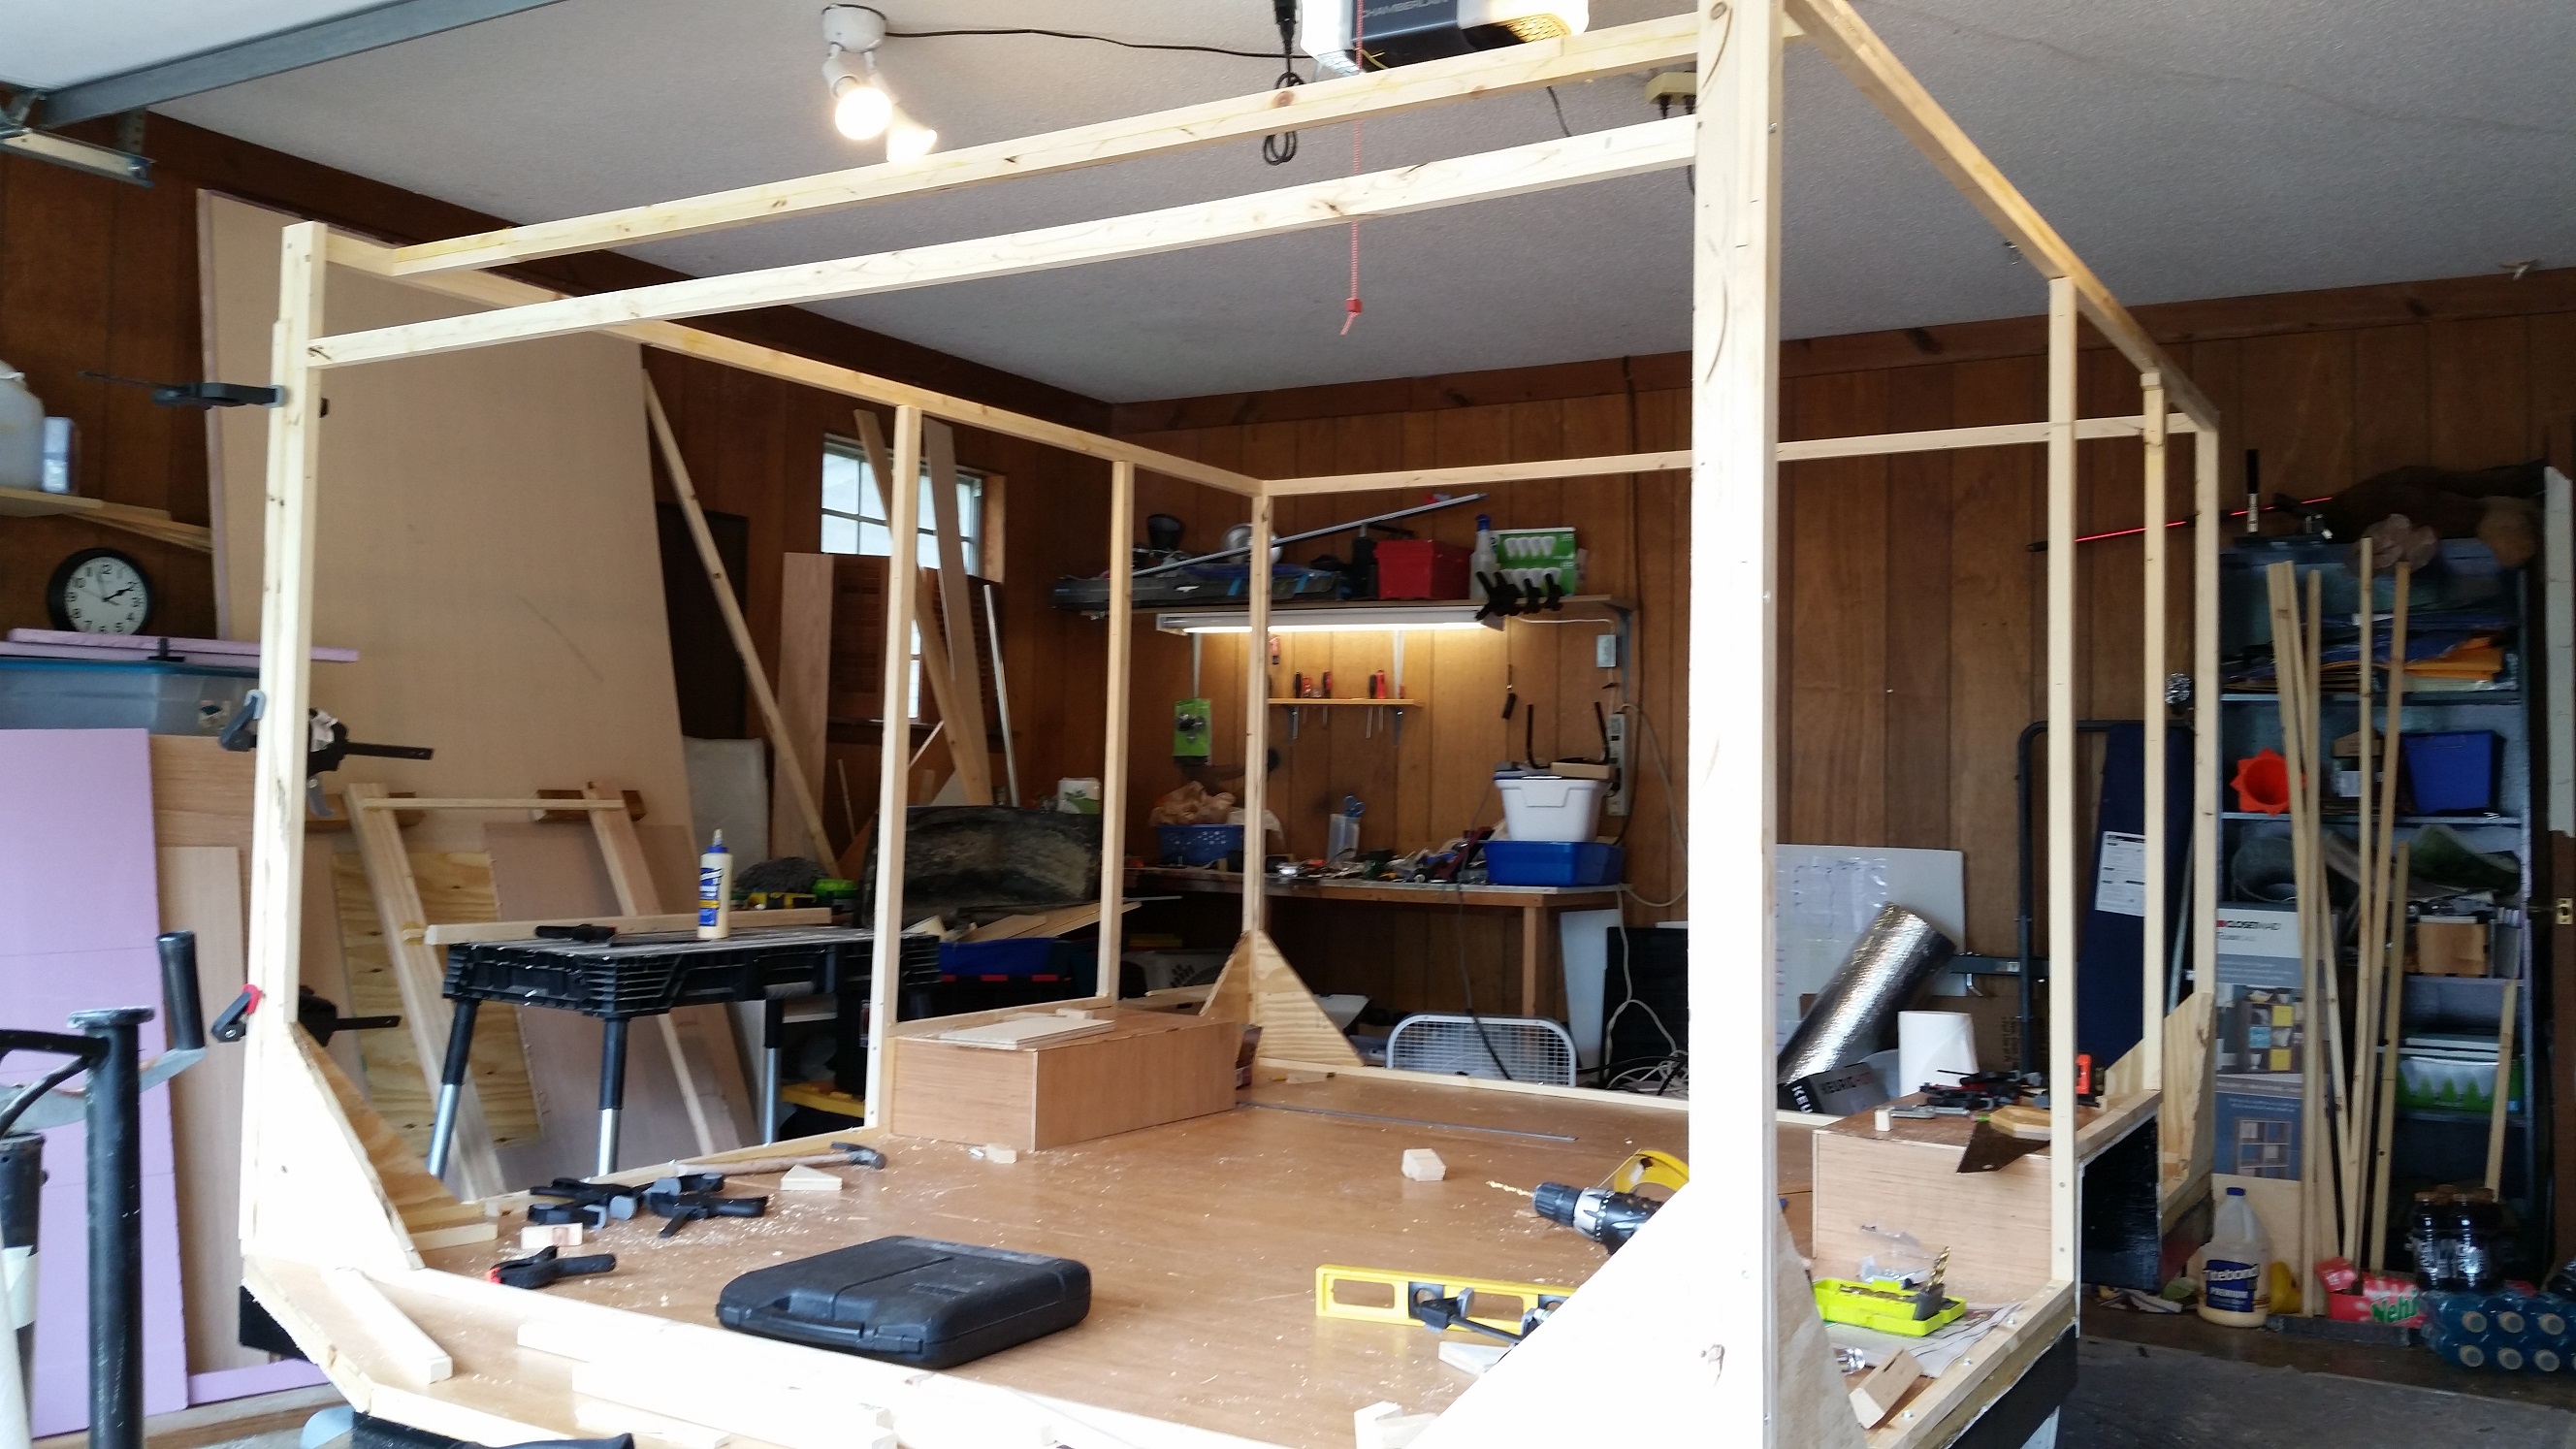
It’s been a while since I posted about the camper build. Two months to be exact. I kind of had other pits to put my money into for a bit and also had to wait for some back ordered items to come in. Those items were reasonably priced aluminum piano hinges and a low profile roof vent.
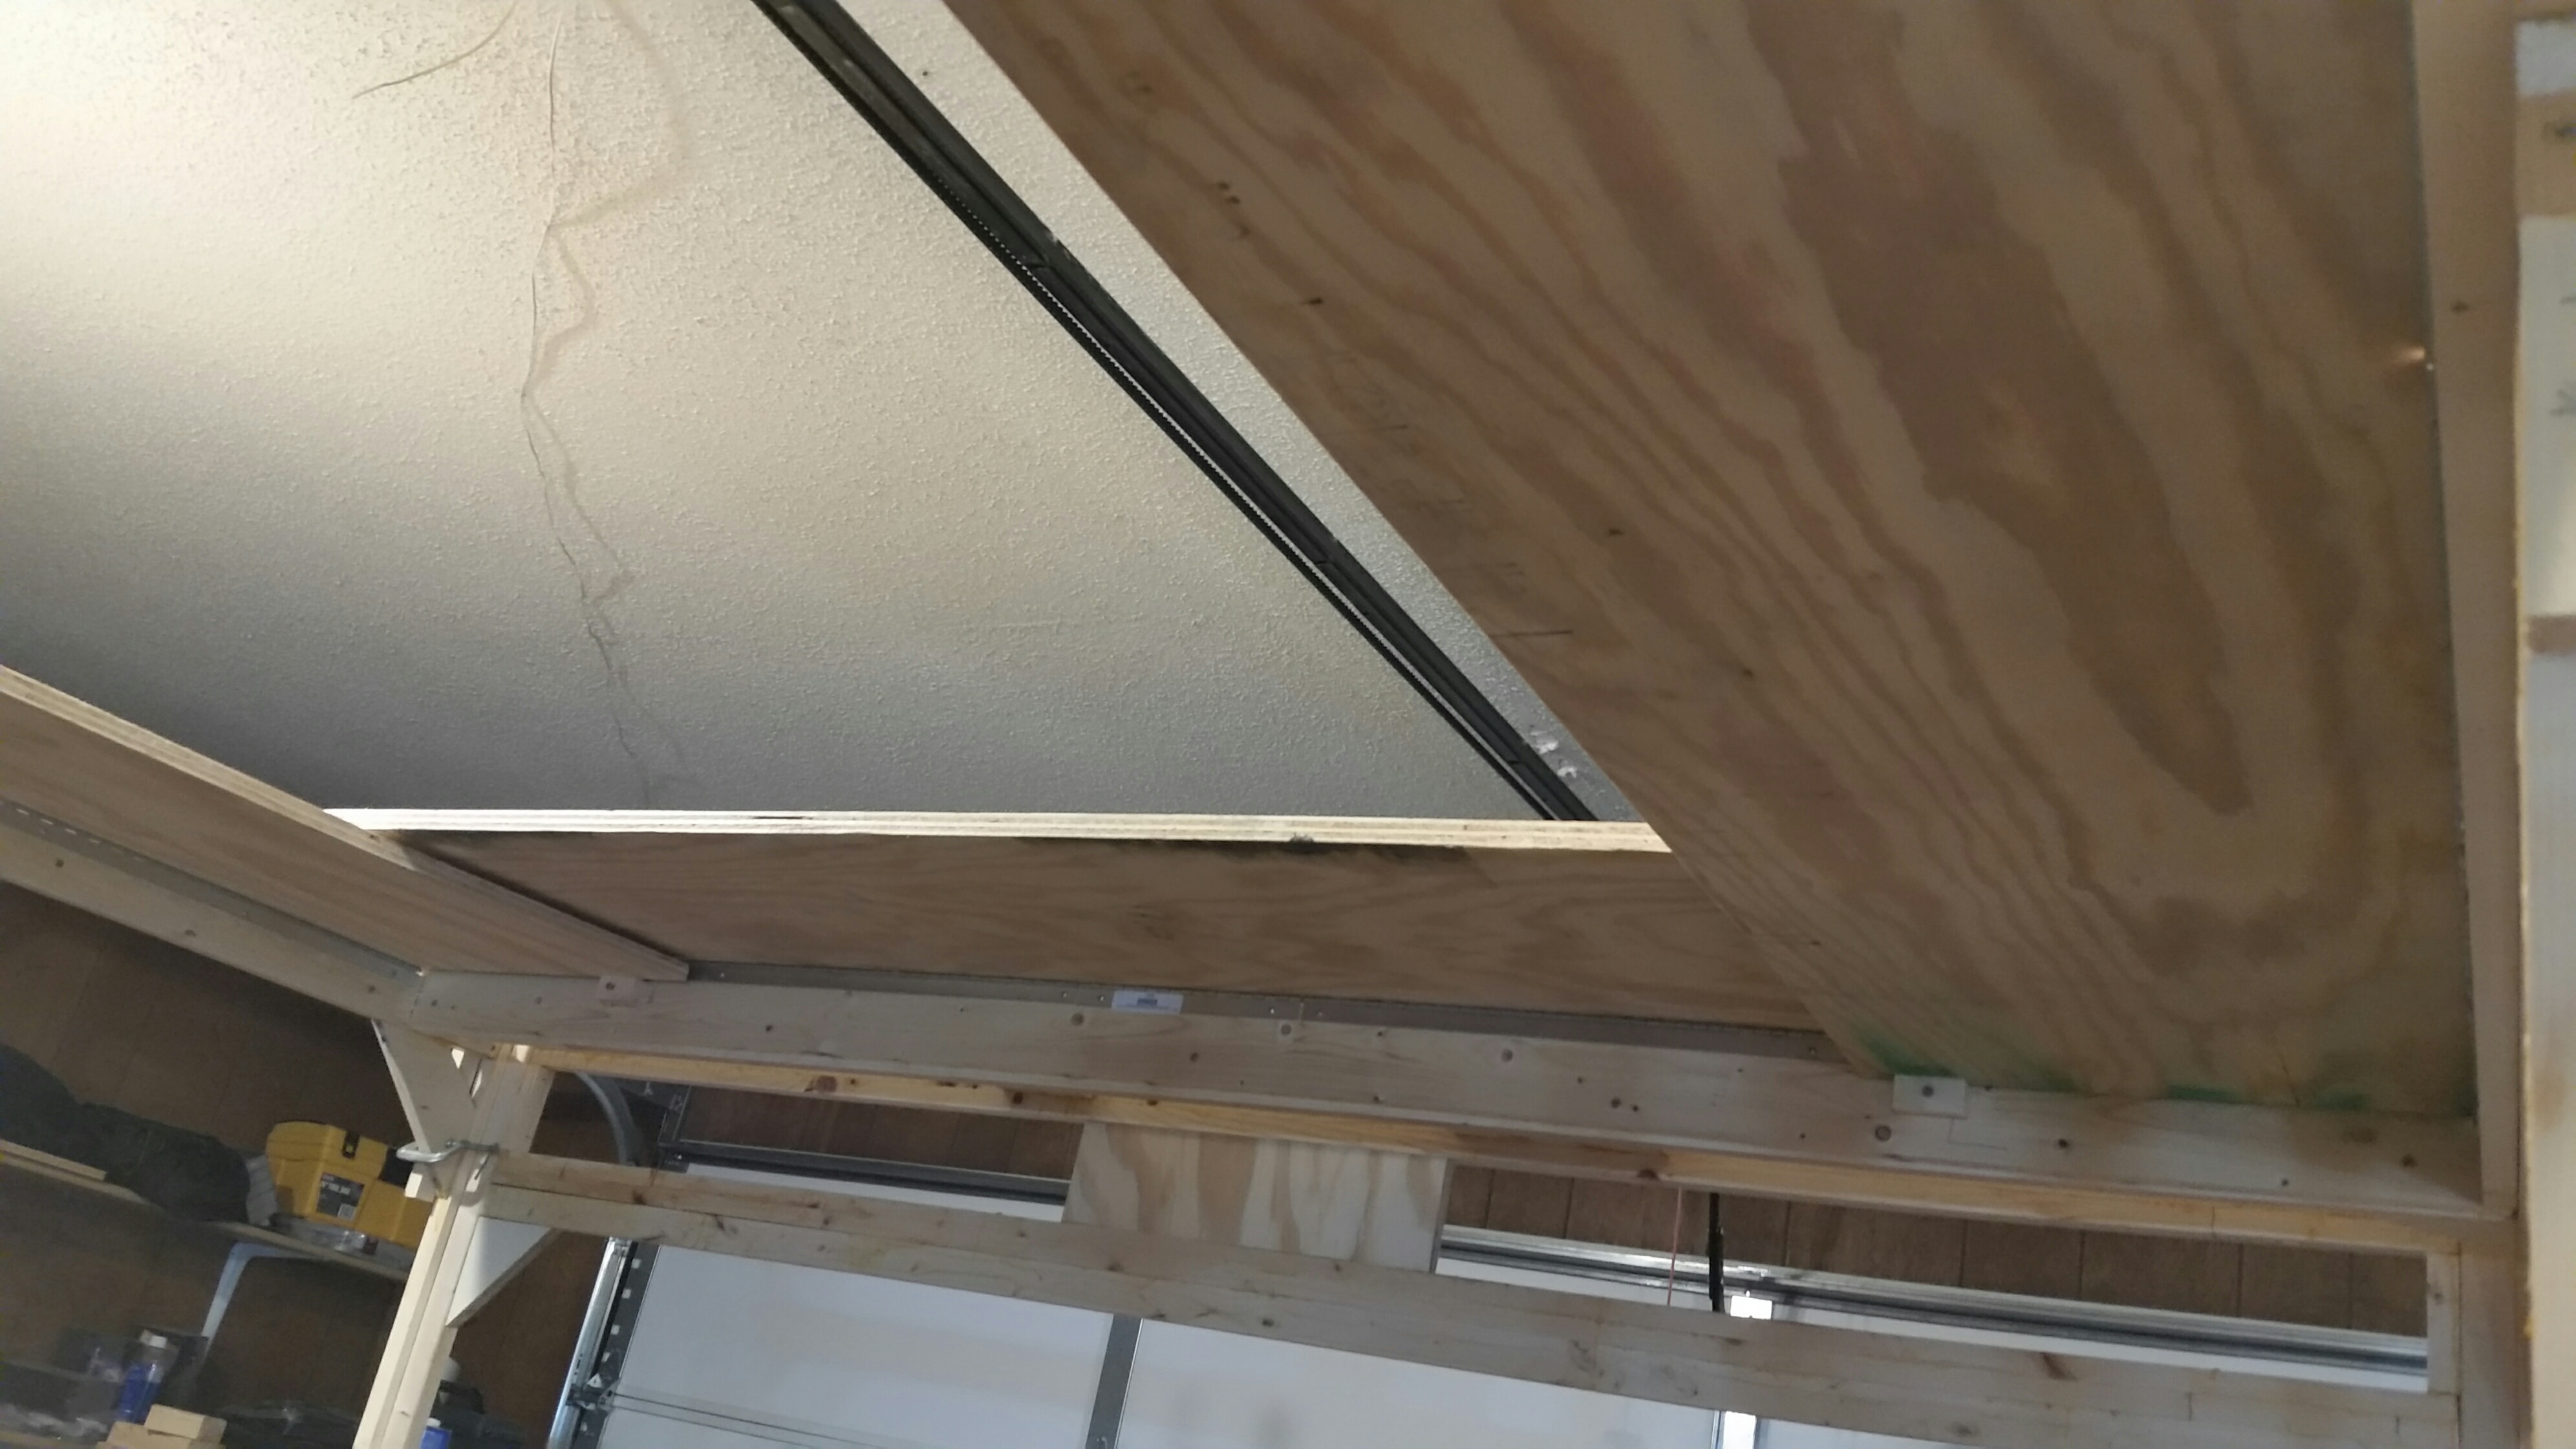
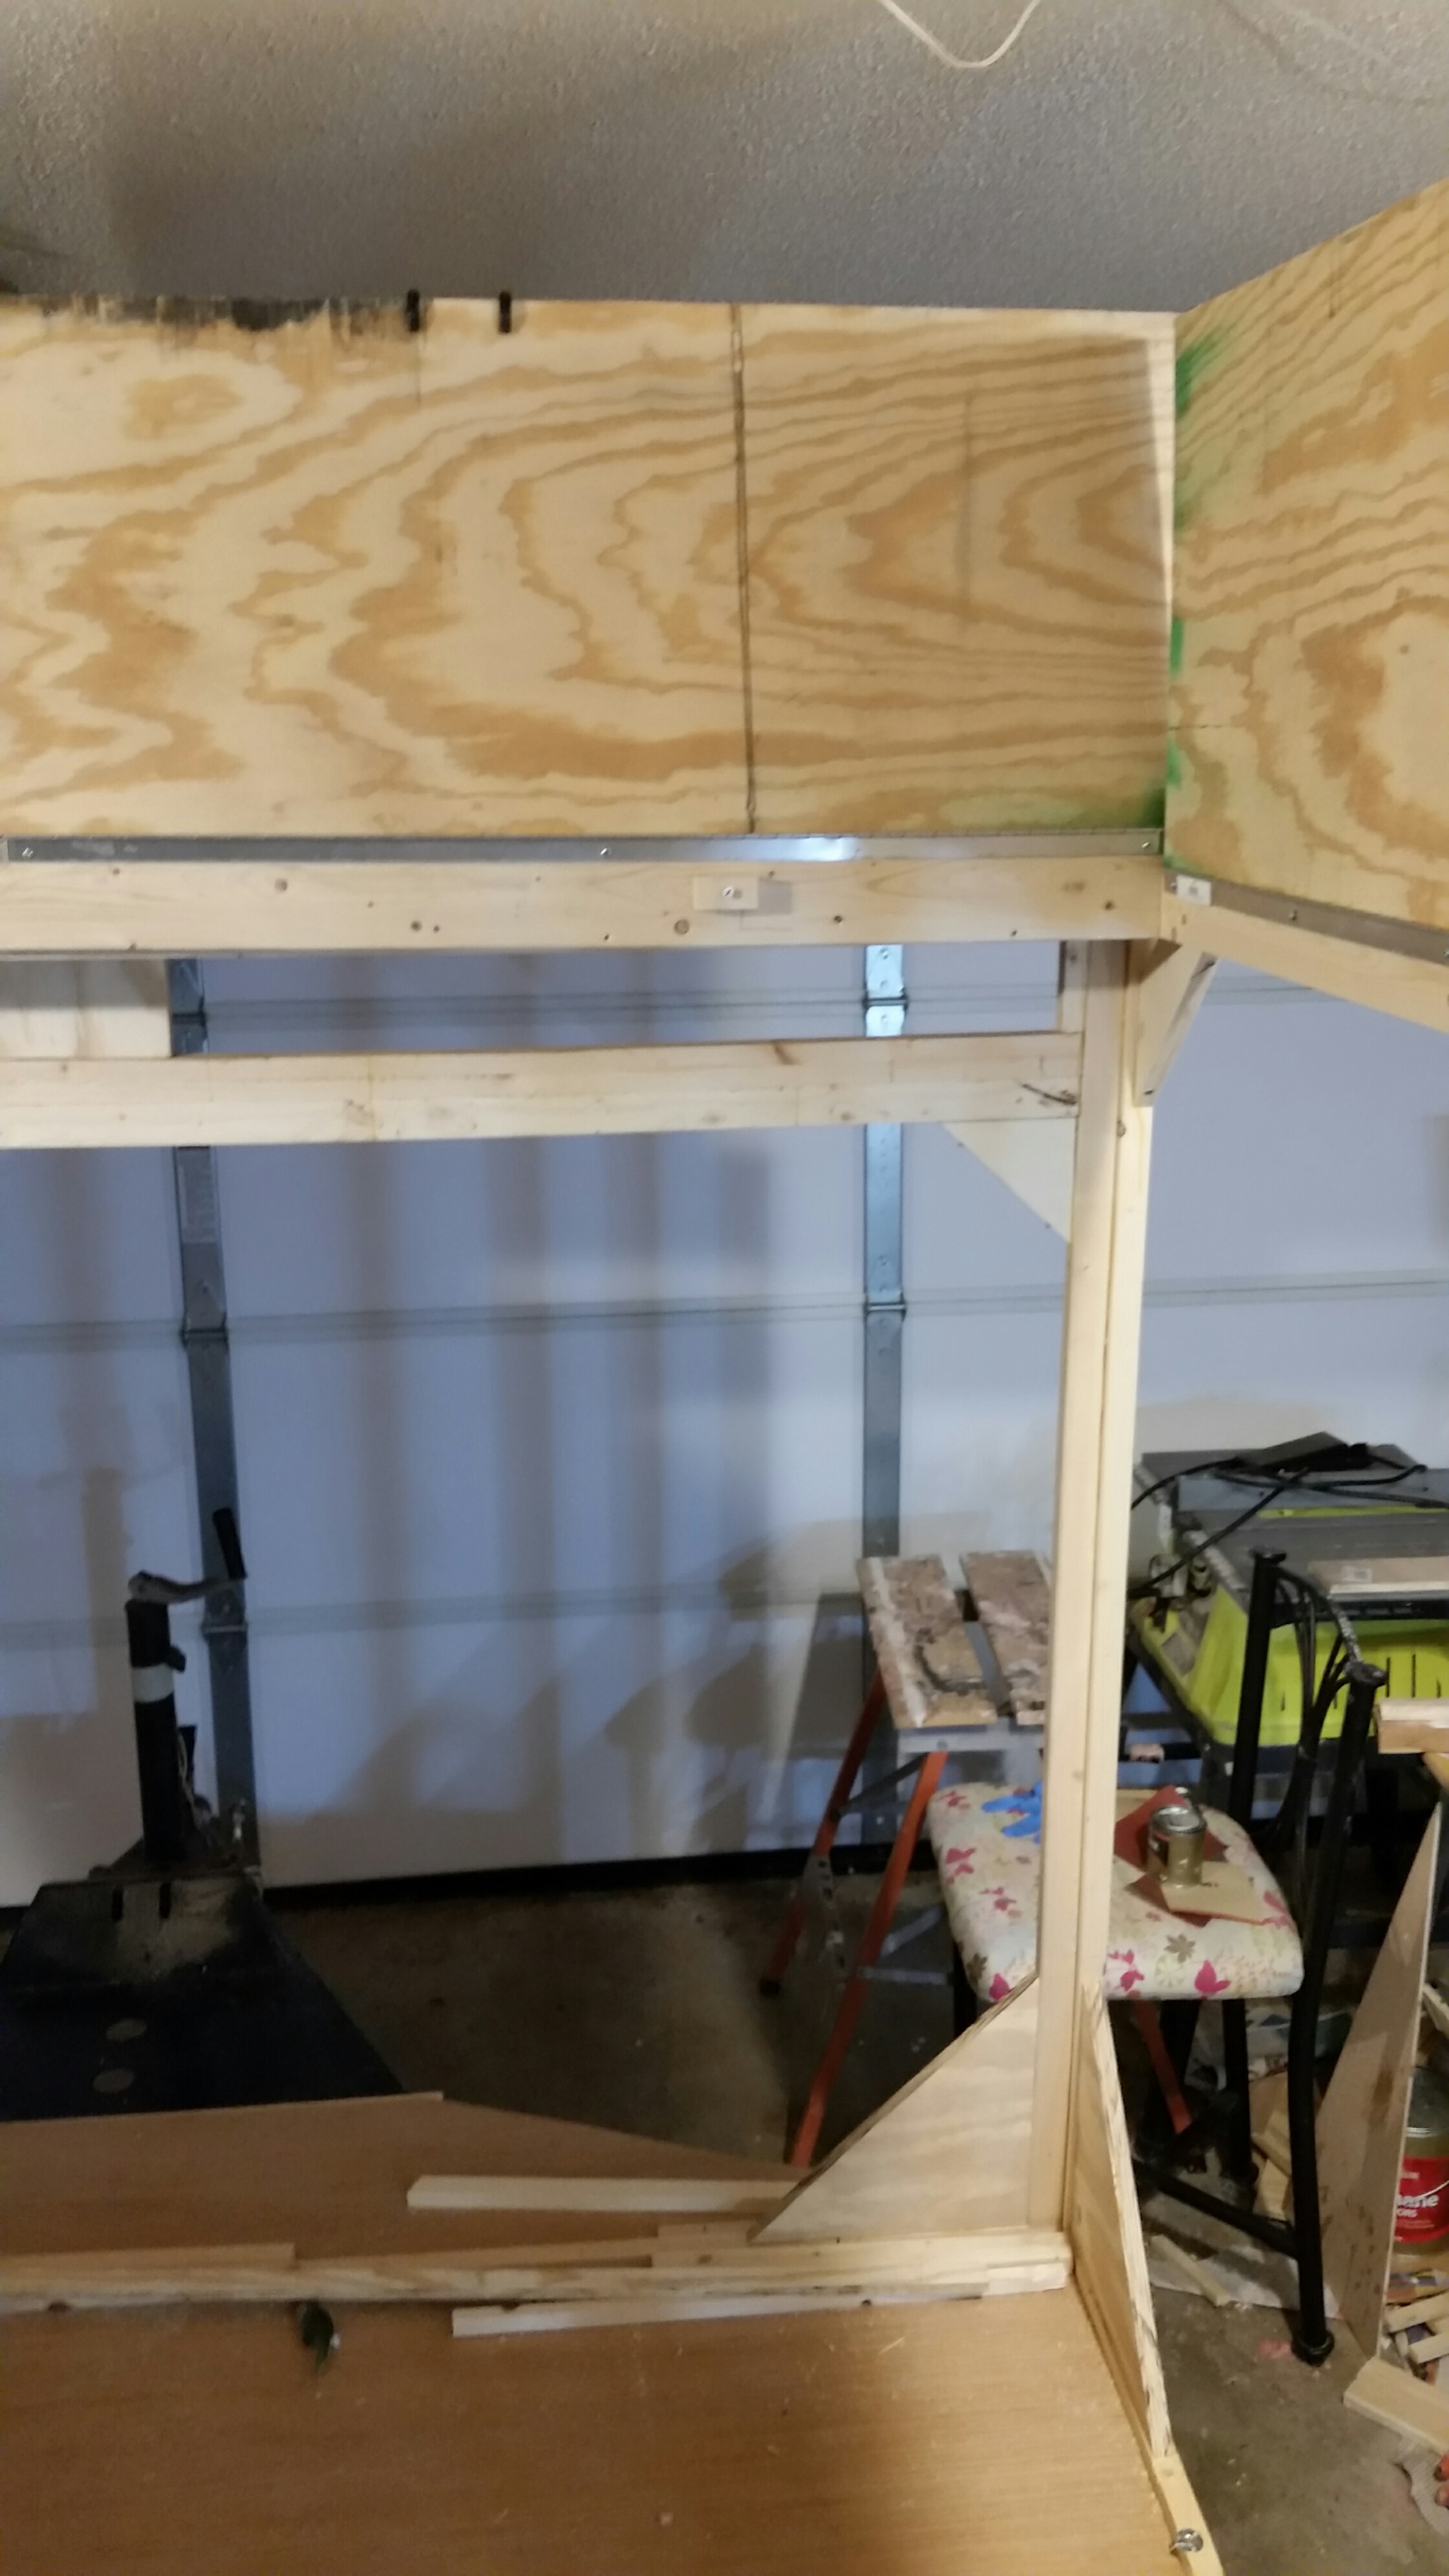
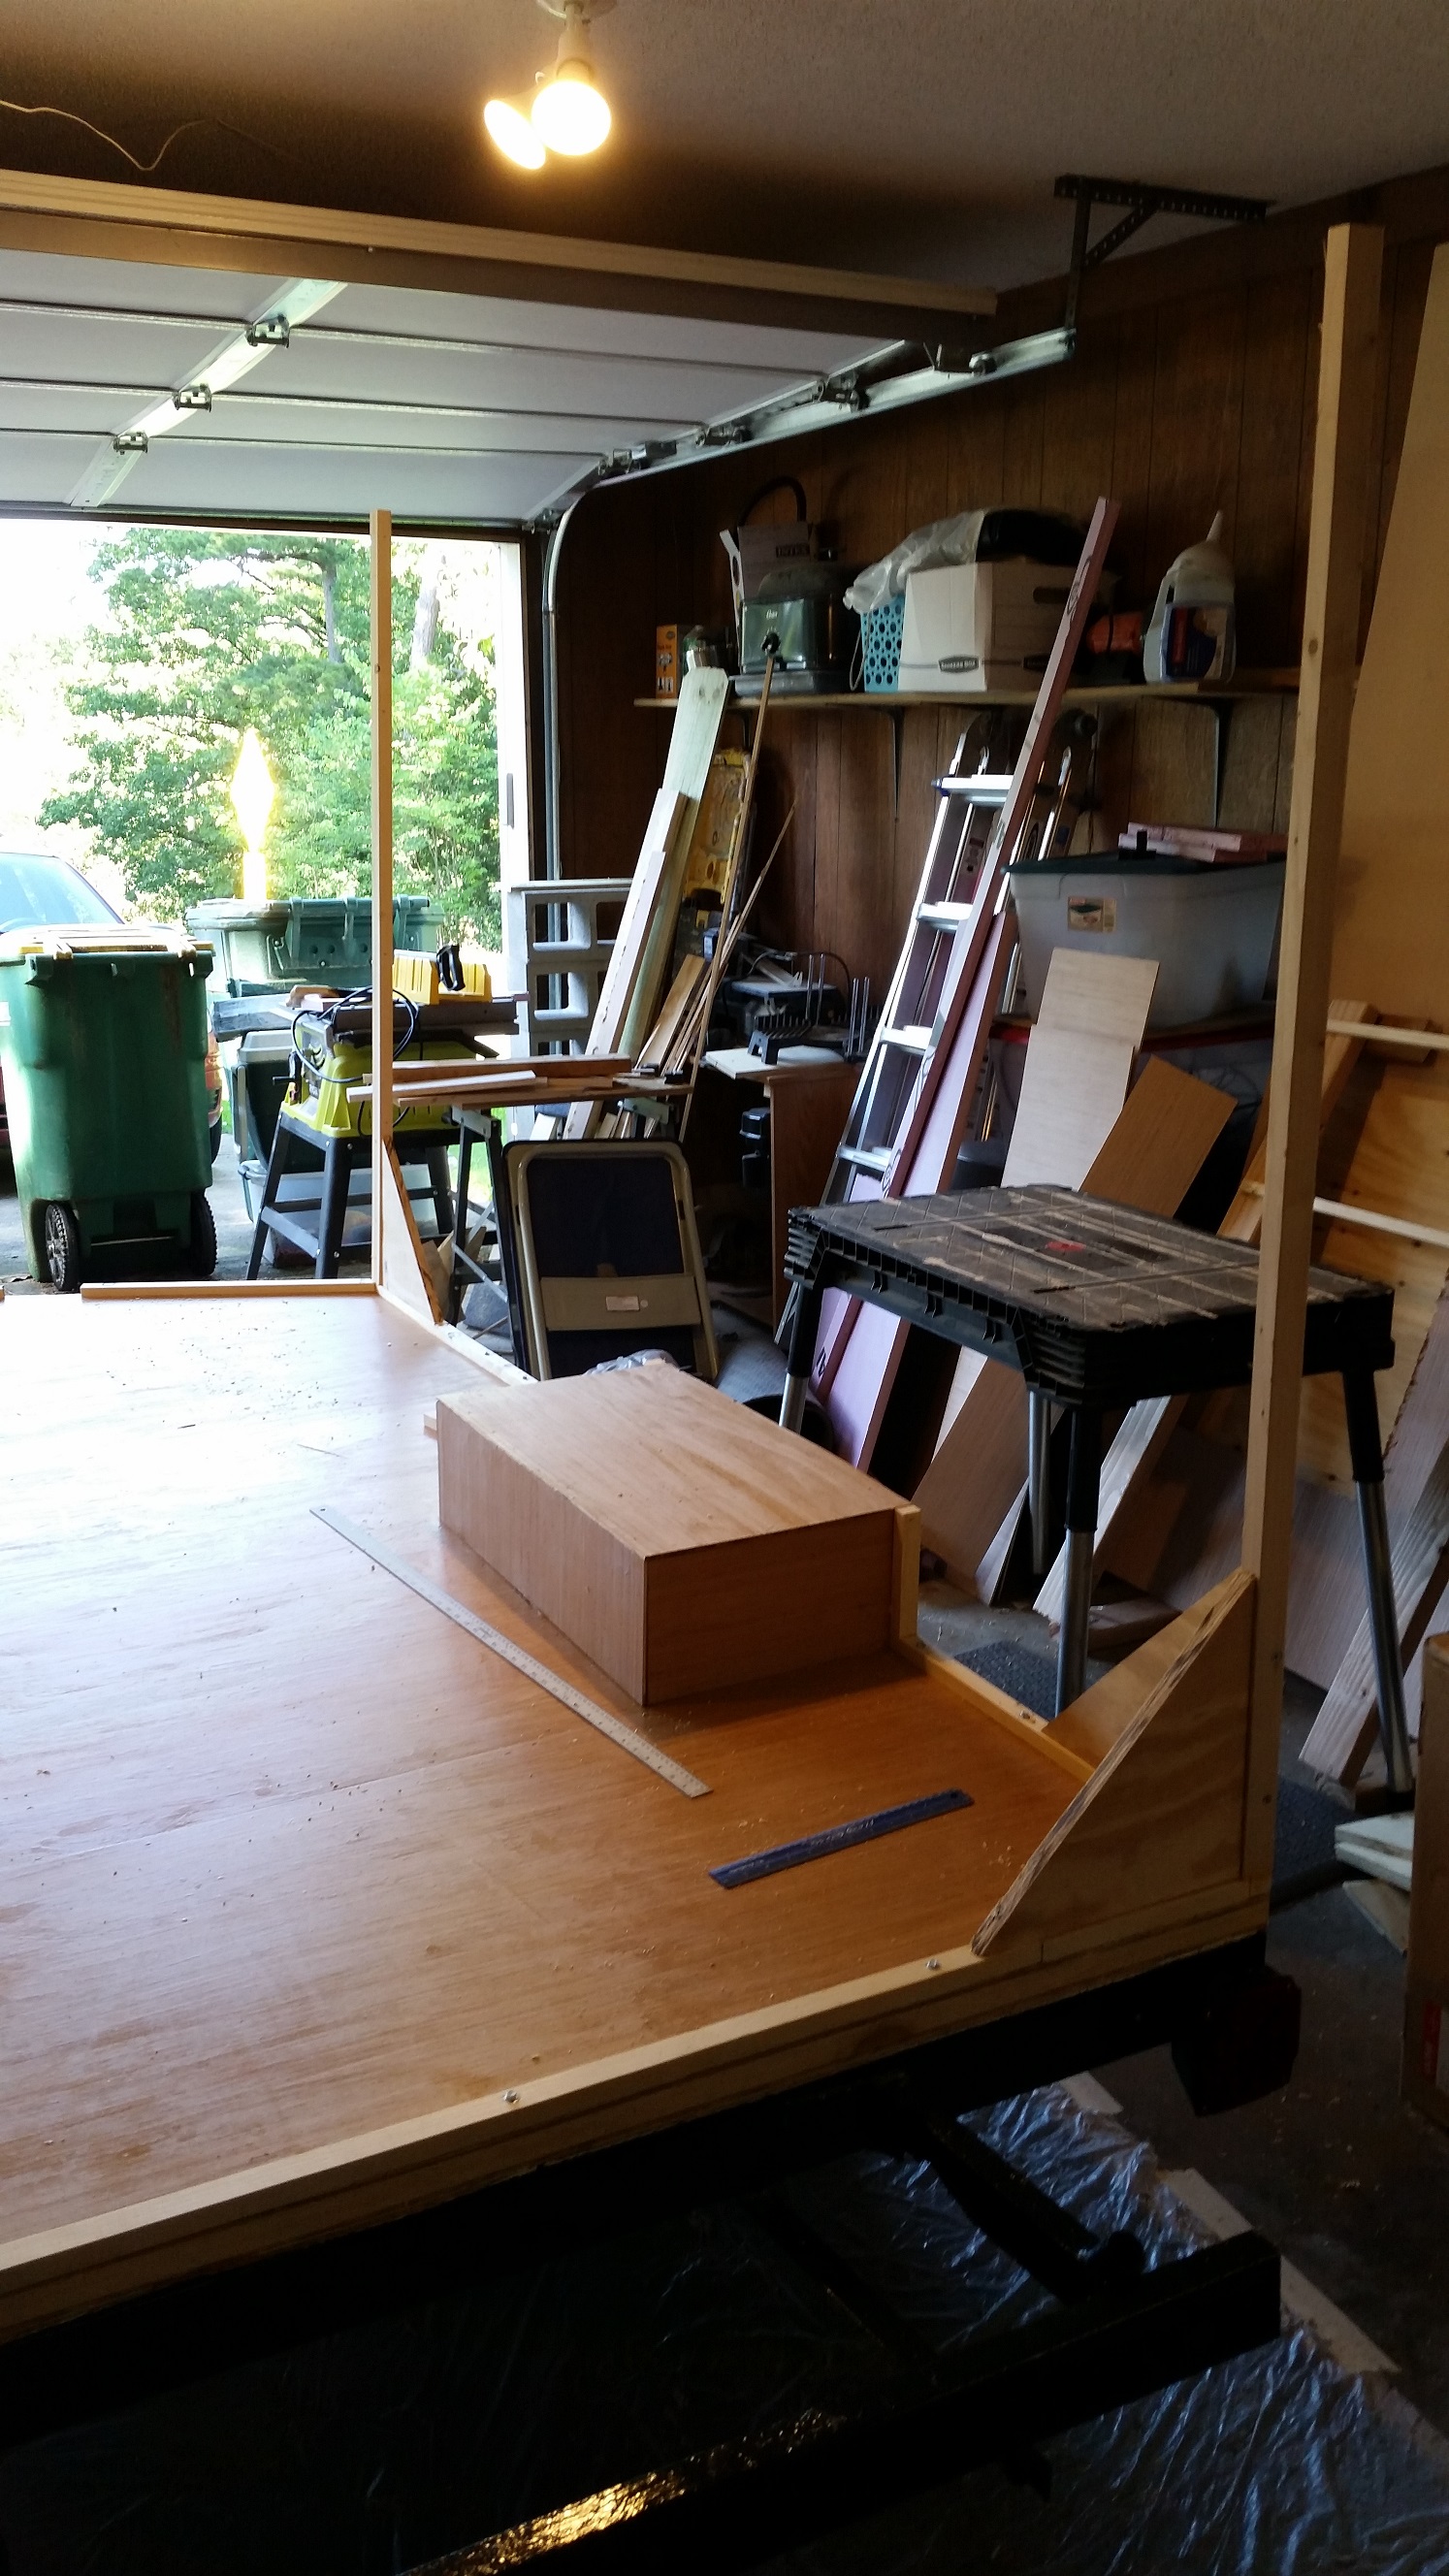
So here we see the hinges in action connecting the flip-up panels to the walls. In the first picture they are folded down, like a box, then up in the next. The flip up panels will lift the ceiling by 15 inches so that I can get the camper in and out of the garage and still stand up inside, even if I grow three inches.
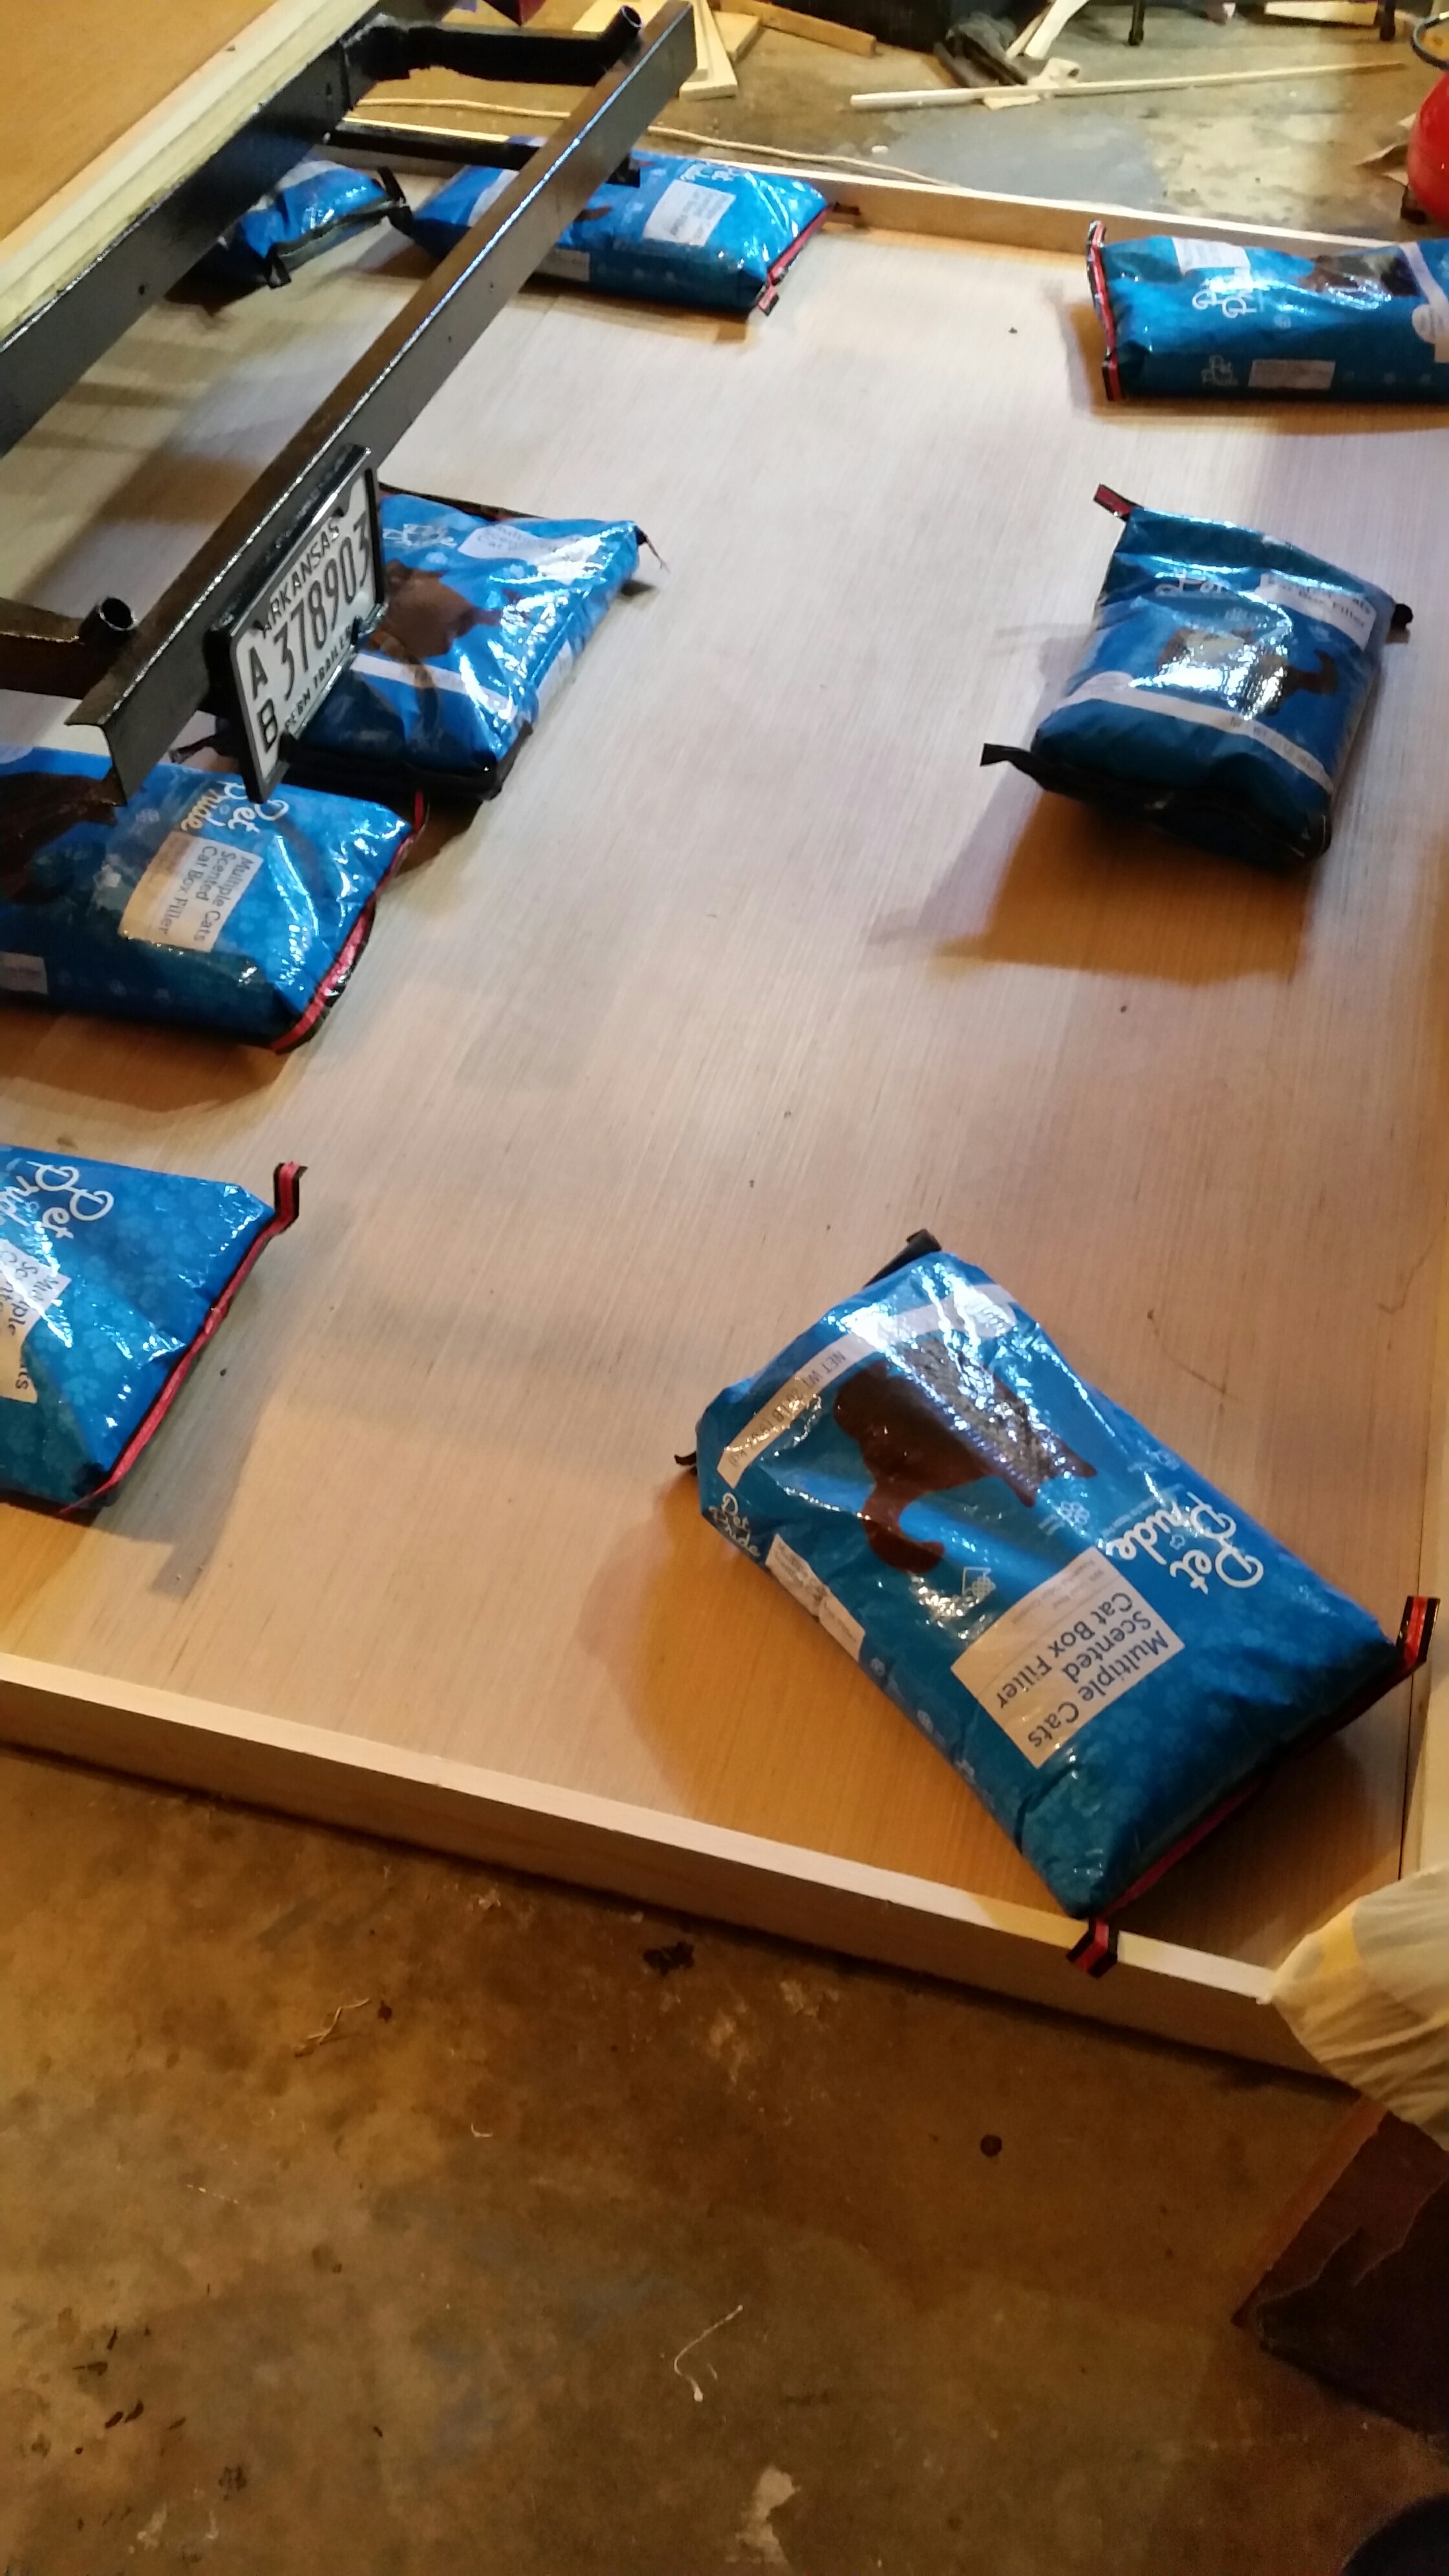
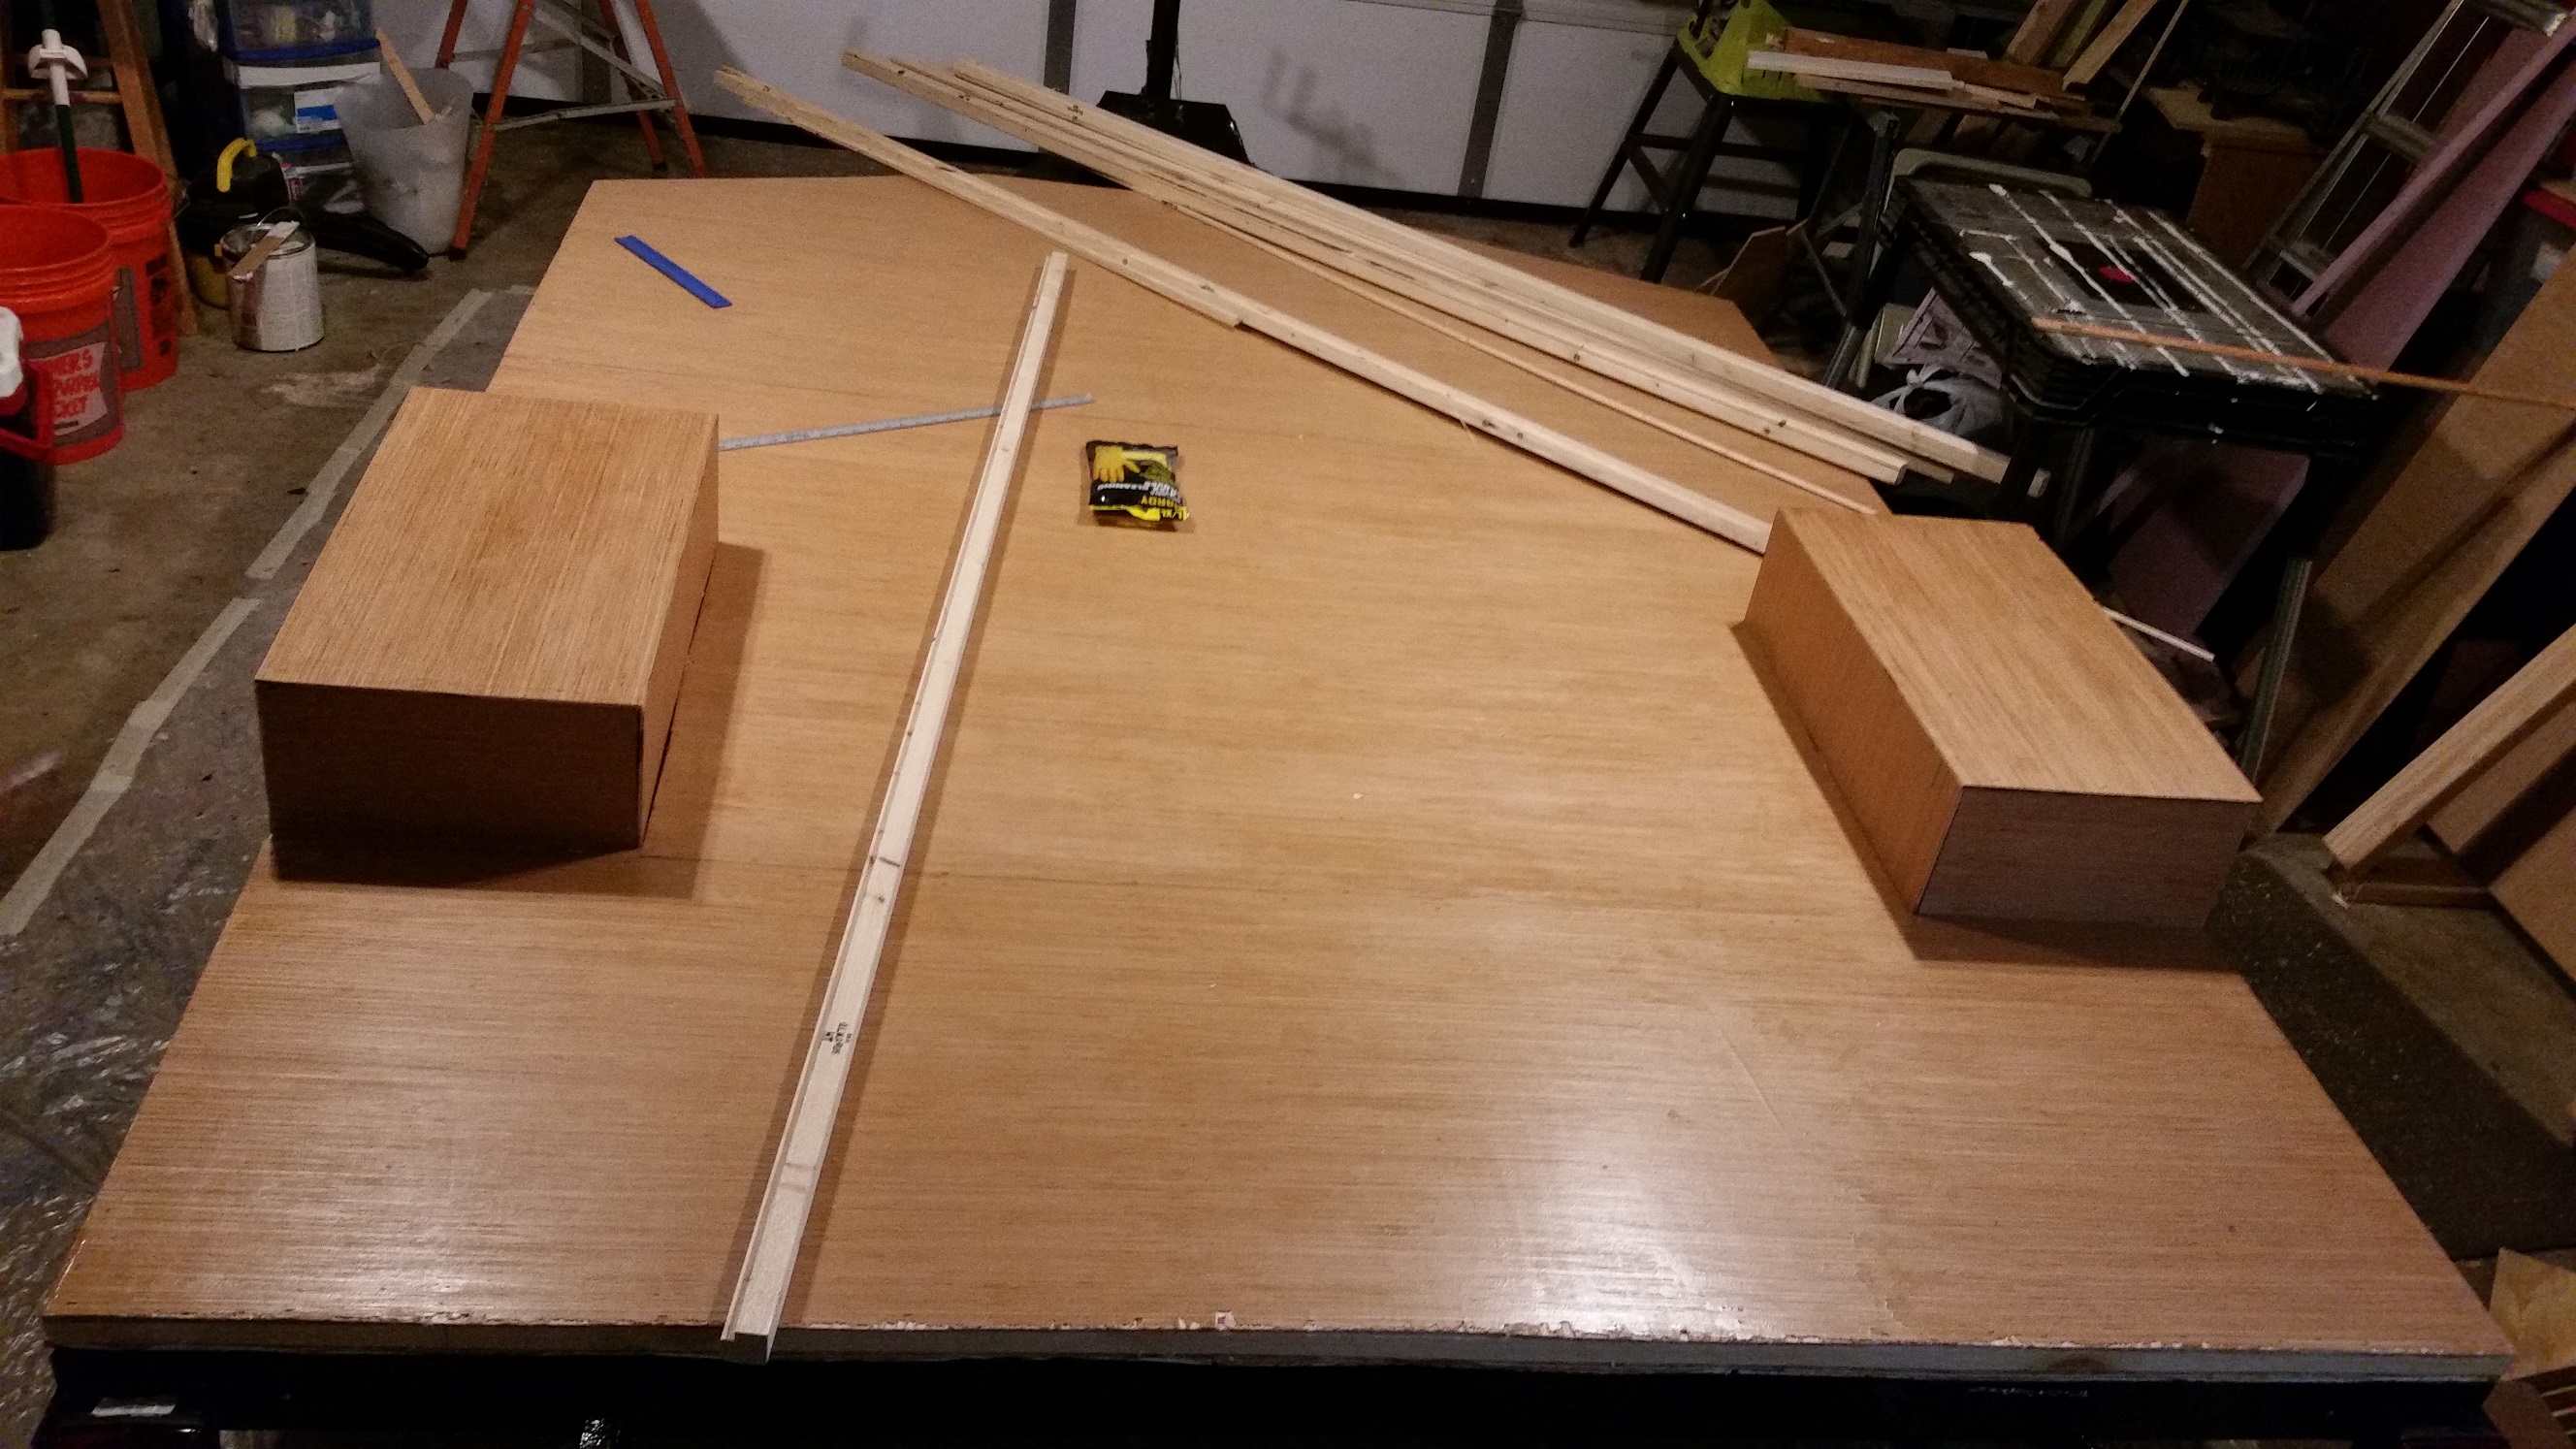
Finally the “lid” as everyone agrees it should be called. It’s upside down now, the exterior plywood that will be the top on the floor then 1 inch of rigid foam and then 5 mm interior plywood that will be the ceiling, All glued together with paint. I’ll let that set with cat litter on top for about a week. As it is, the lid is about 90 pounds. If I’ve messed it up and it sags then people who have done this before recommend 2 inch foam and no plywood, just the canvas skin. That would eliminate about 60 pounds.

Camper Build 6/9/2018


It’s the hottest part of the day so I’m taking a break. I’ve got the frame on the future camper now,  most of it at least. Now I will turn my attention to the roof. The walls you see here are about 56 inches tall. I can stoop under the top boards as I pretend to go through the someday door. This clears the lowest part of the garage door by 7.5″ so I have 6″ to play with, giving 1.5″ for error. The lowest profile vent cover I’ve found is 2″ tall when closed so I have 4″ to work with. The camper will have a lifting roof that will raise enough that i can stand up in it at least most of the way. If for some reason I can’t pull that off, then I’ll just add enough to this so I can stand up and the forget about working in the garage.

Camper Build 6/3/2018

Friday, Saturday, and Sunday I worked on the camper. Friday and much of Saturday I built wheel wells. Open boxes with exterior plywood on the you know exterior and the same ply that makes up the floor for the inside. Two layers of primer and another of the black enamel used for the trailer. There was a lot of work then wait. So i also picked up 2x2s to start the walls with. I ripped a inset in them so that they would match the thickness of the foam. Sunday I installed the wheel wells and then started the corners. The middle picture shows one side, the two back posts are pretty solid with their two angle brackets. The front ones only have one each so far so I need to be careful around them. That angle is trickier than a simple 90 degrees and but I’ll get it done.


LinkedIn
LinkedIn
Share