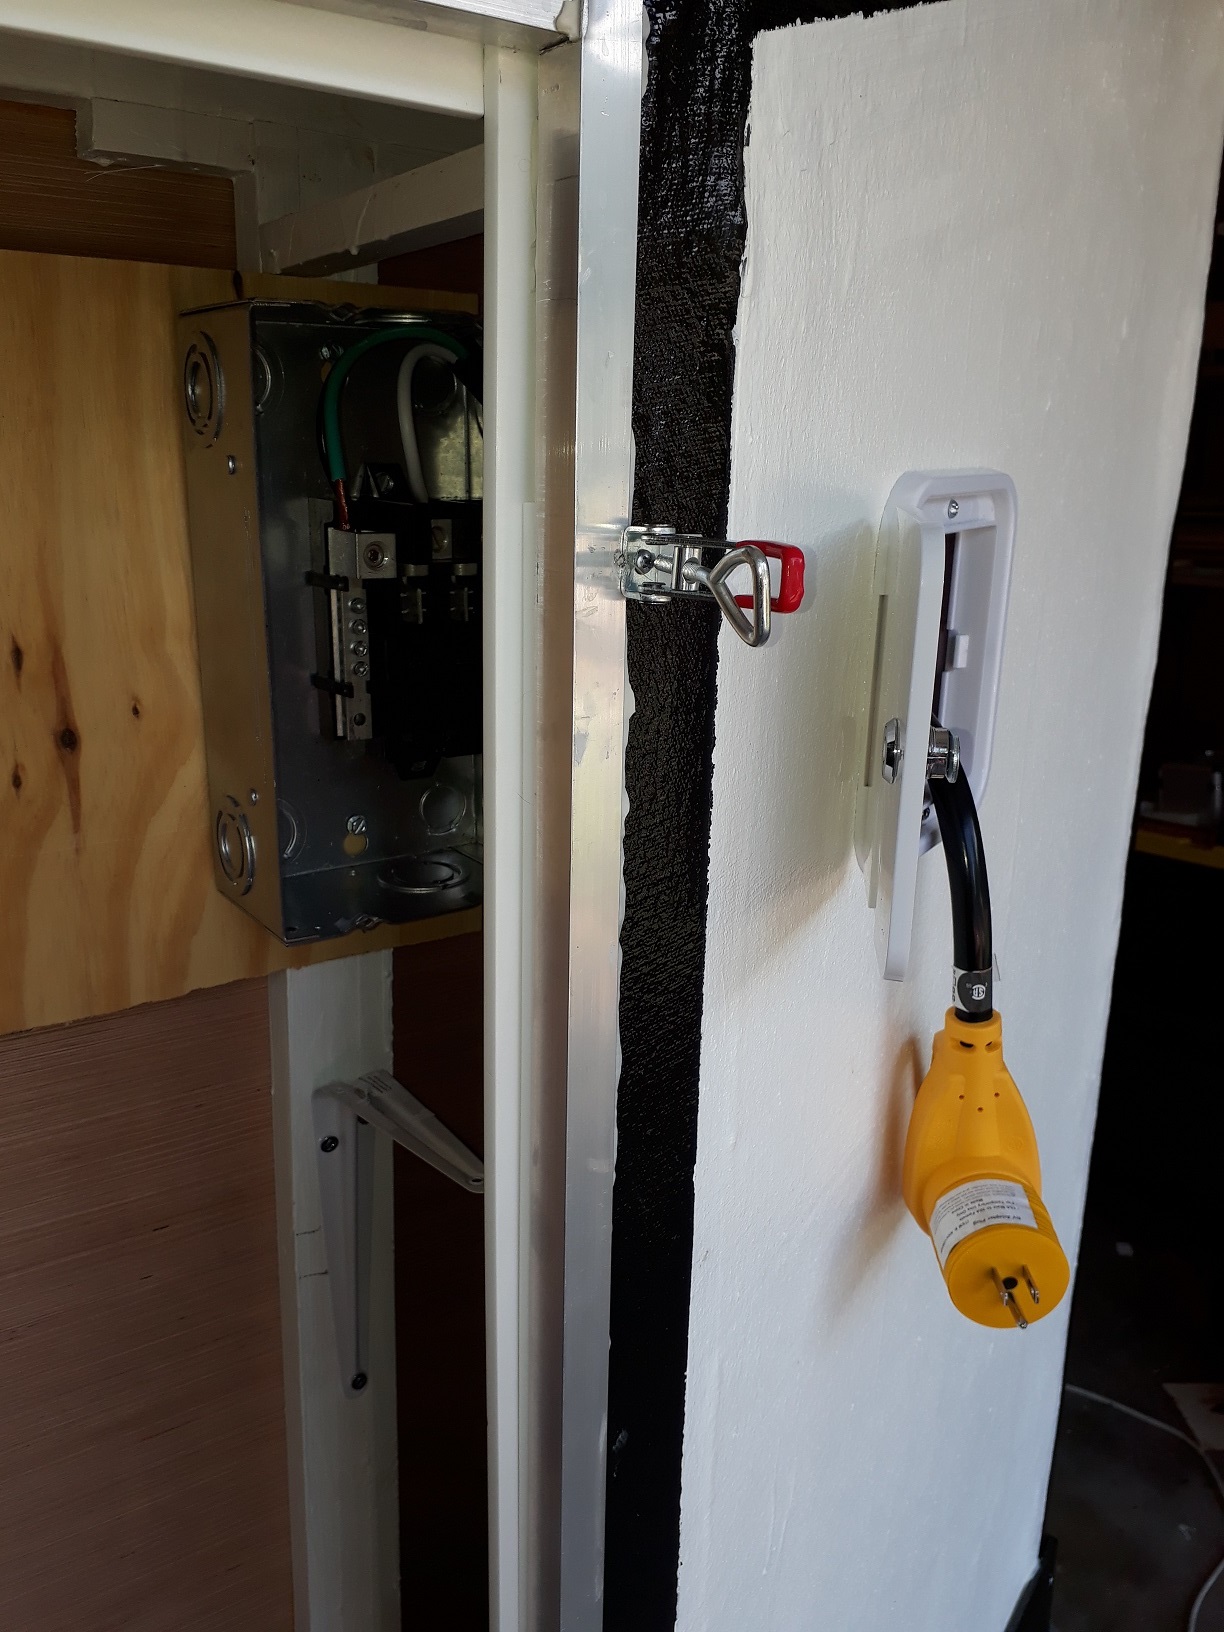
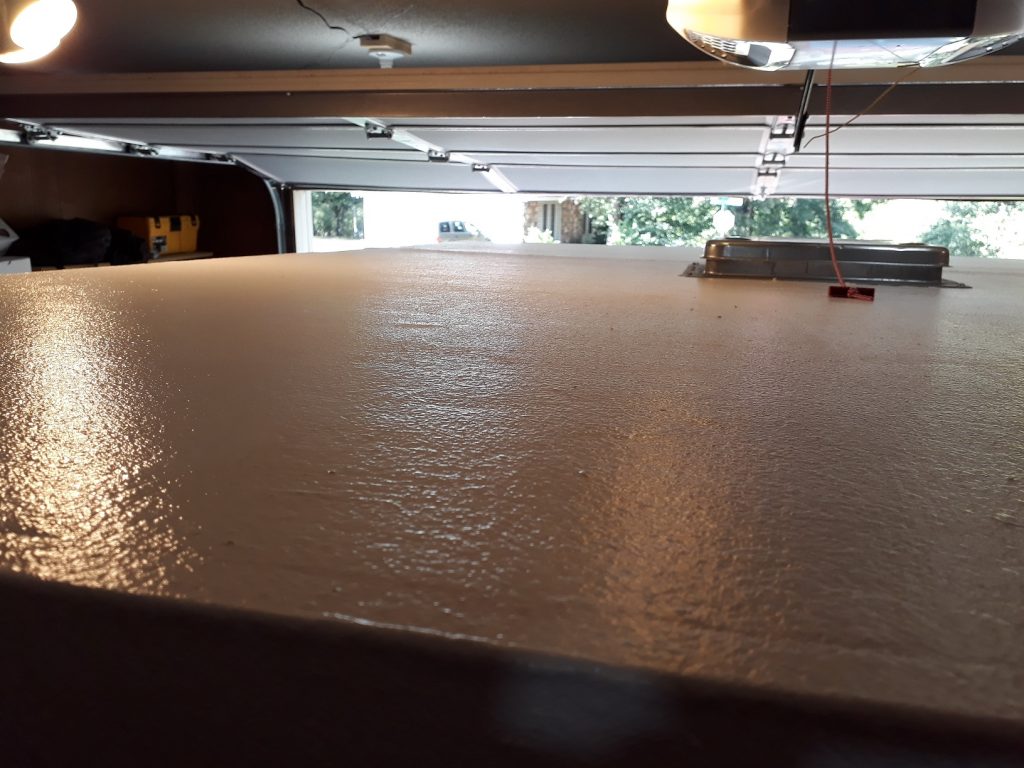
How’s the camper coming, you ask? Today I added a 30 amp power cord hooked up to the circuit box. I need to ground it and then run wiring into the cabin. As I don’t have anything inside to mount the GFCI receptacles to yet, I’m not sure what I should do next on that though a small hole in the interior wall leading into the cabin seems like a good idea. The other picture shows the lid on top of the camper for the first time ever. I’m going to add the latches that will keep it from flying off and probably take it back off tomorrow or Sunday. It does fit and the roof vent clears the garage door by well over 2 inches. Yay!
The project is approaching a milestone. Although there is still plenty to do – wiring, bed, cabinets, privy – I’m rapidly approaching a point where I have something that is more than the sum of its parts. I will have something I can take out and spend the night.
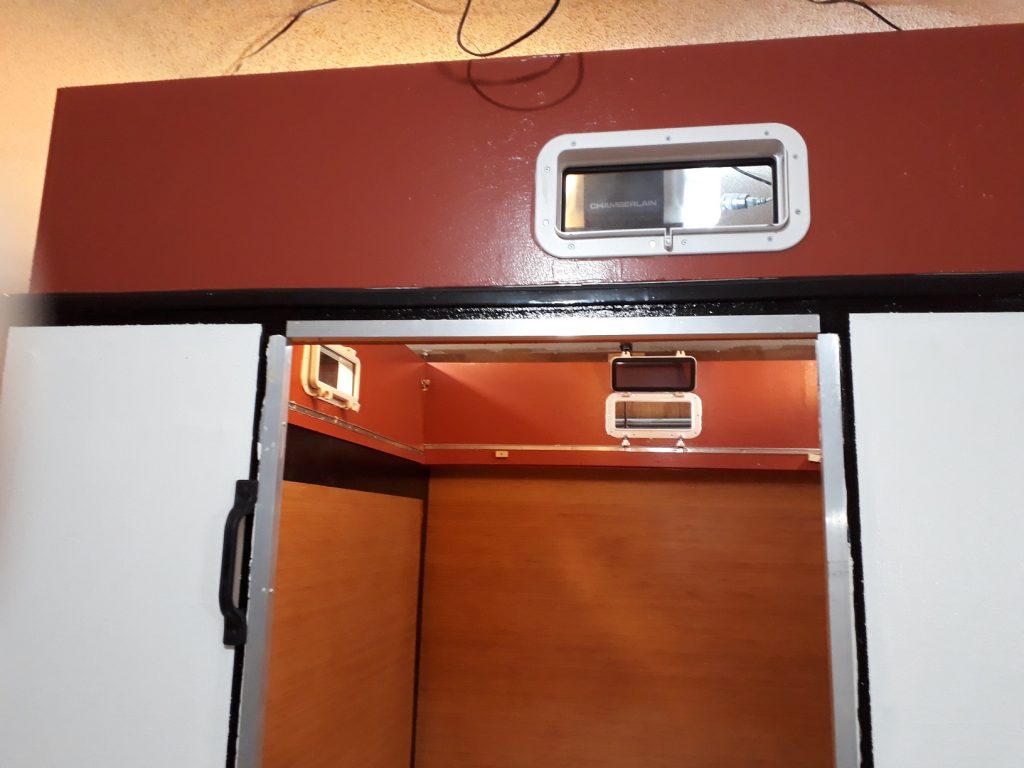
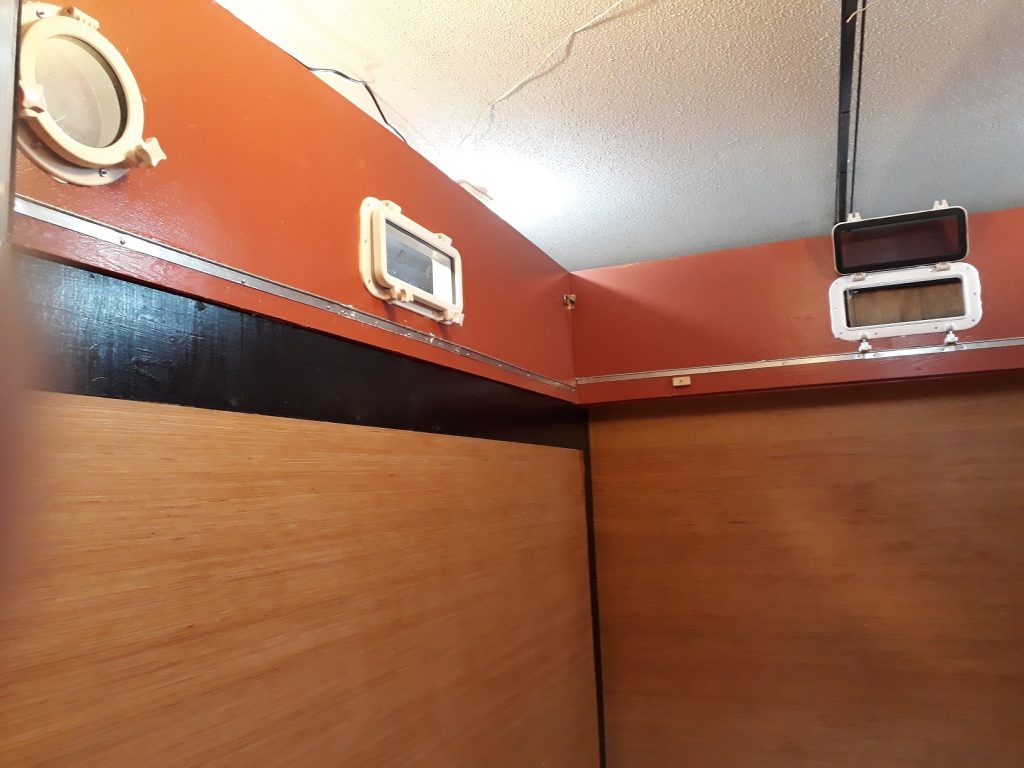
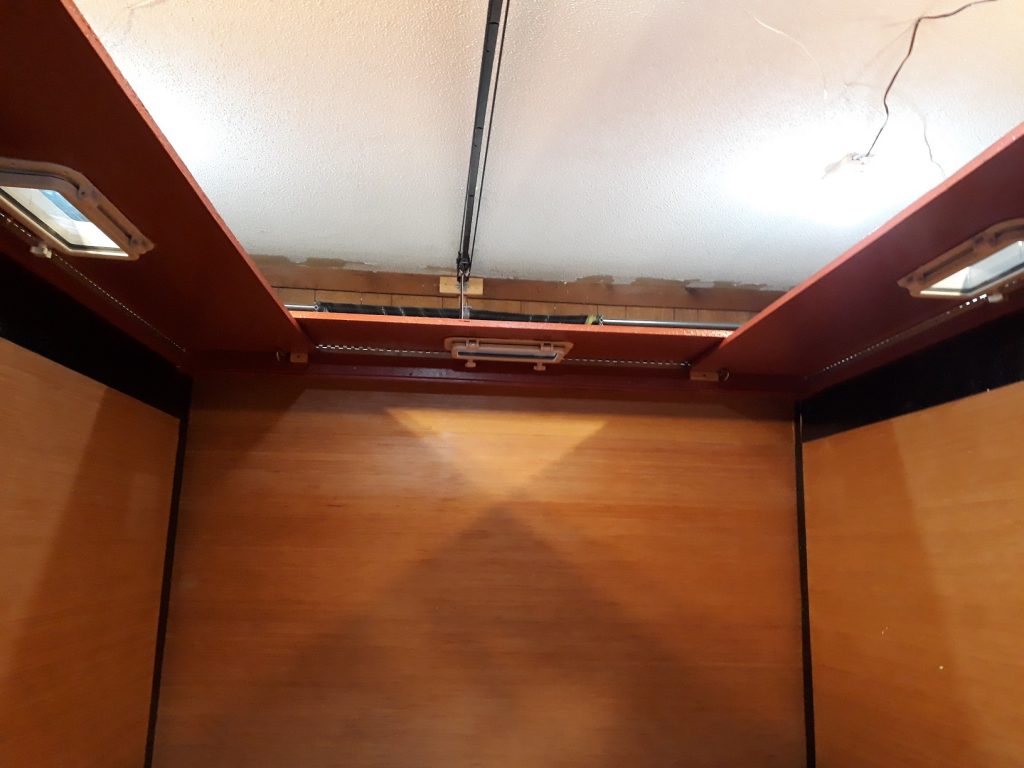
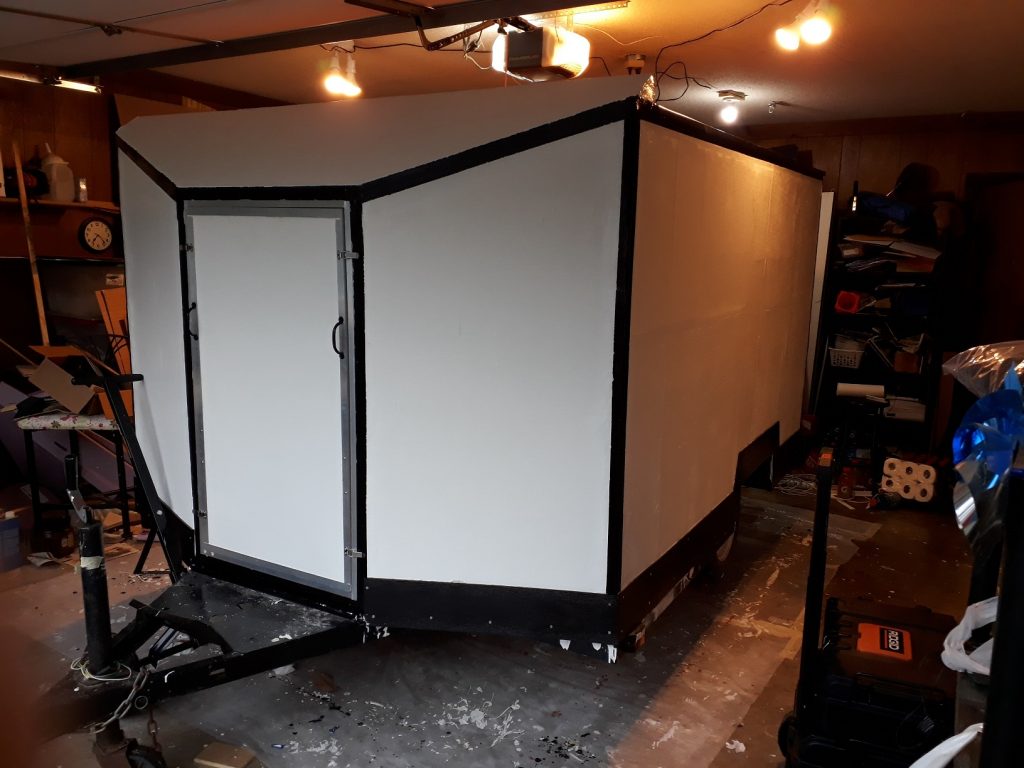
Yesterday and this morning, I installed the portal windows in the flip up walls. Then with the help of Sam, I installed those flip up walls. In the first picture, you can see the back of the camper with one one of the flip ups. In the next, you can see the flip ups in their full and upright positions that raise the roof 16 inches (or 406 mm if you prefer) with their nautical style portal windows. It seems weird to have the windows open inward but I’ll be glad I did them that way the first time I’m caught in a sudden downpour and don’t have to go outside to close them.
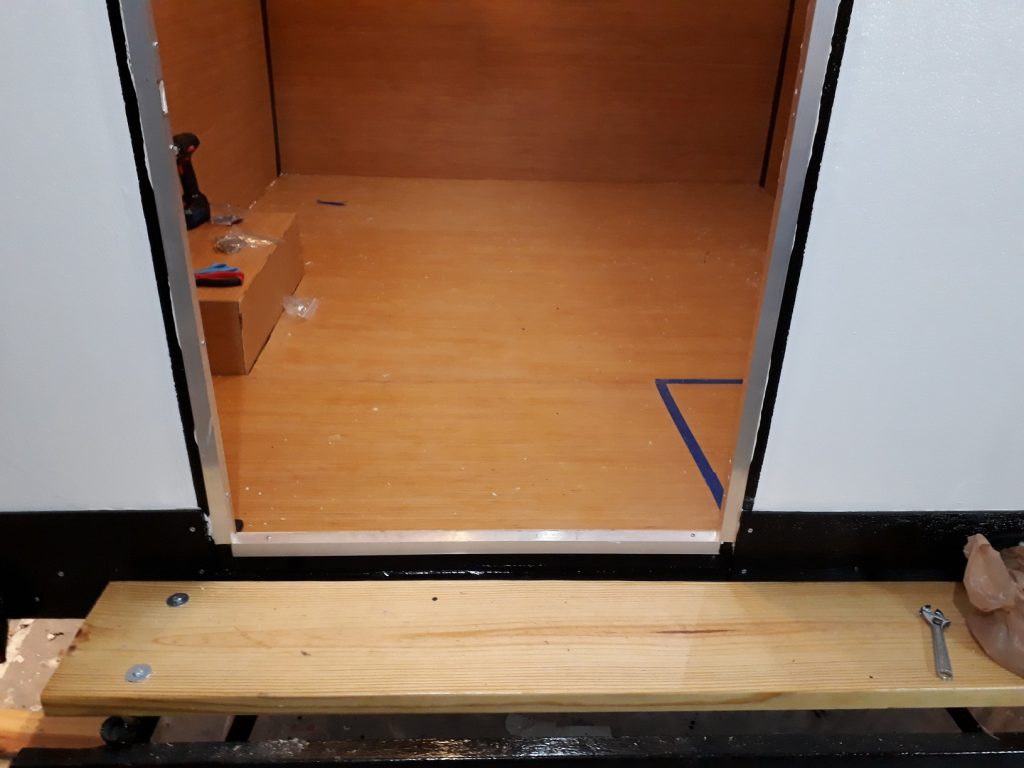
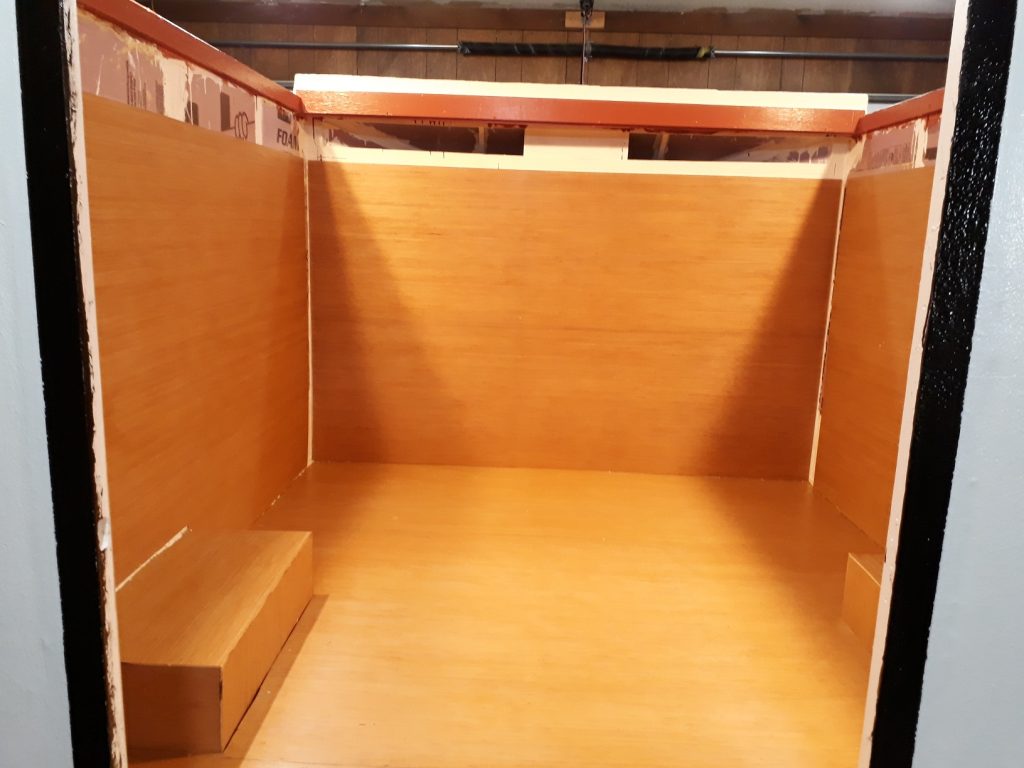
The third picture shows the flip ups lowered, front and back resting on the sides. The final picture shows the expansive back porch and a view of floor. At the far end will be a bench the converts to bunk beds. Behind the blue tape in the foreground is the “not very” privy. On the left will be storage and a kitchenette (yet to be designed but I have the sink). The door is ready to hang but would be in the way right now.
I haven’t posted about the camper project in a while but somethings have been done. Here’s a picture of the front with the cargo hatch in place and the exterior moulding along the bottom. The moulding spans the camper and trailer frame. From the other end you can see the plywood that I just attached to the walls. It’s the same “RevolutionPly” used in the floor. The flip ups are ready for the portal windows and to be attached so that should happen soon. Just a matter of putting the pieces together. Attach the vent to the lid, add weather seal so that it doesn’t let water get in. It won’t be done in a month but it should be ready for a night out.