3/3/2019 More Fun with Poor Man’s Fiberglass


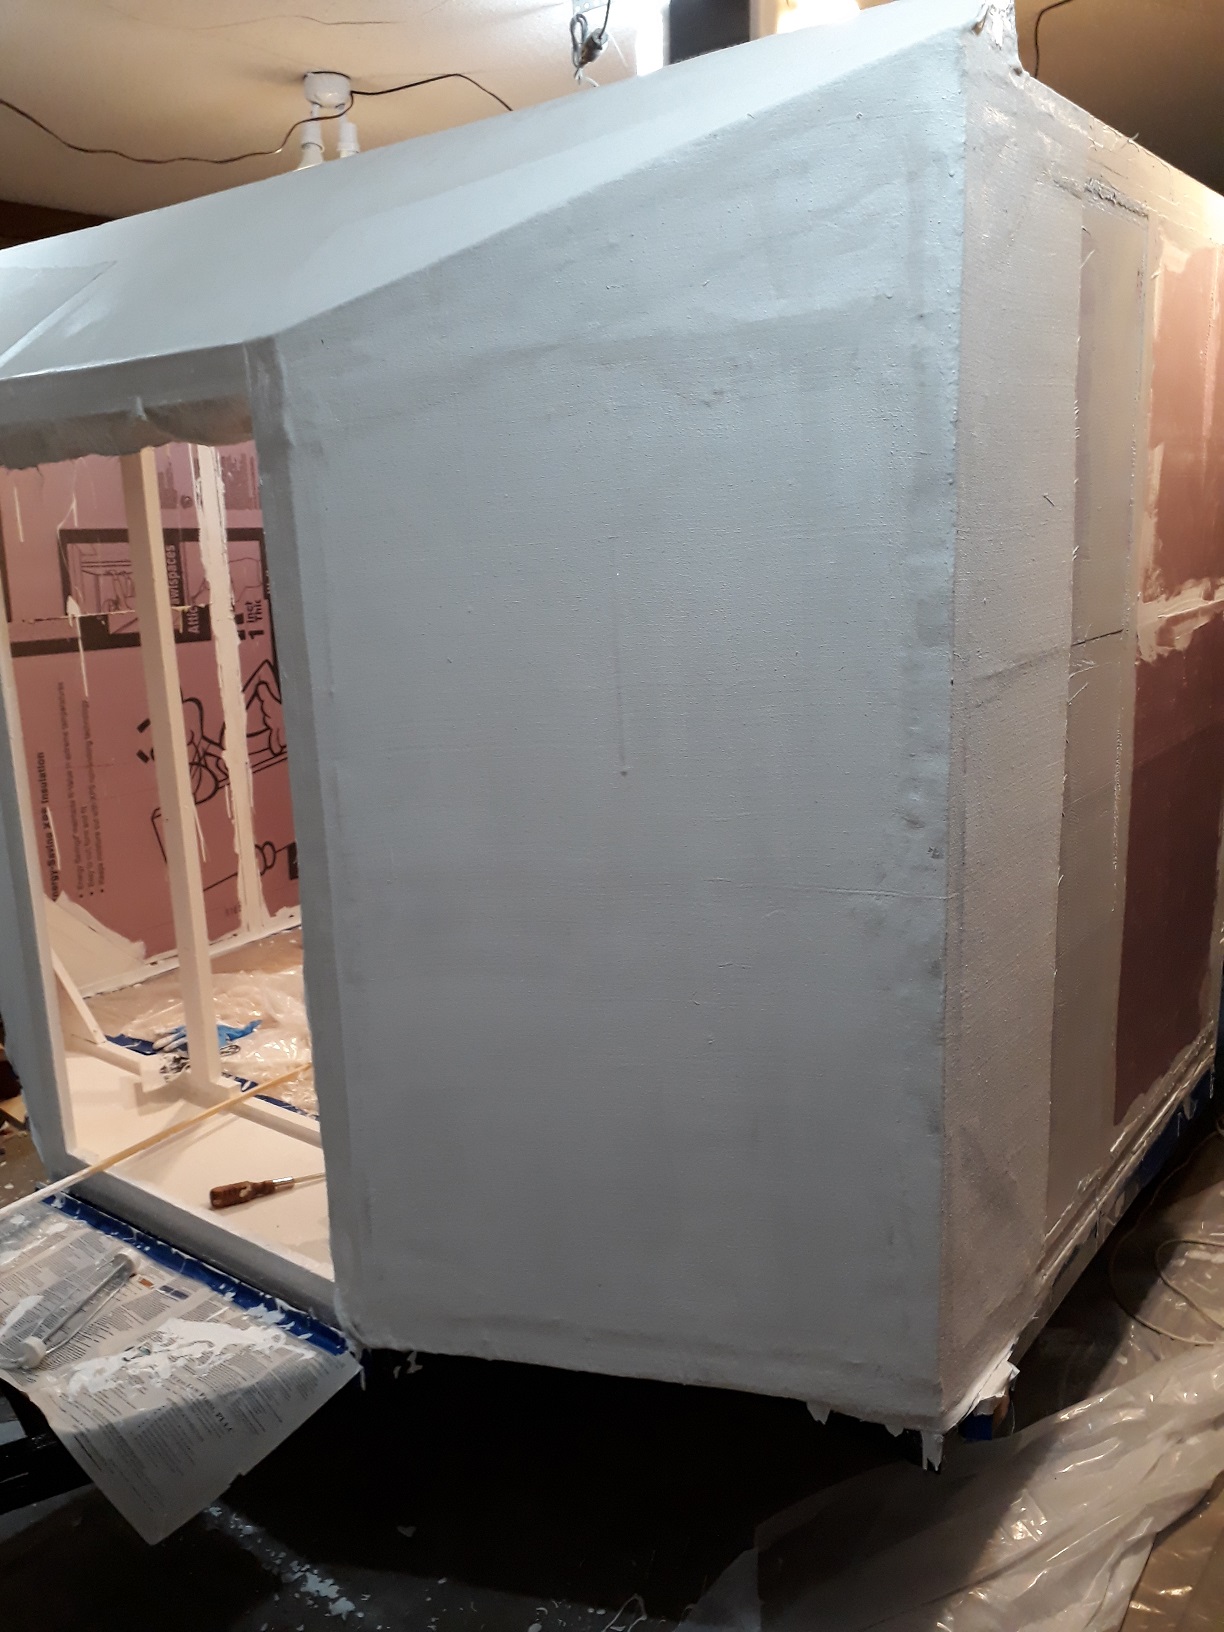
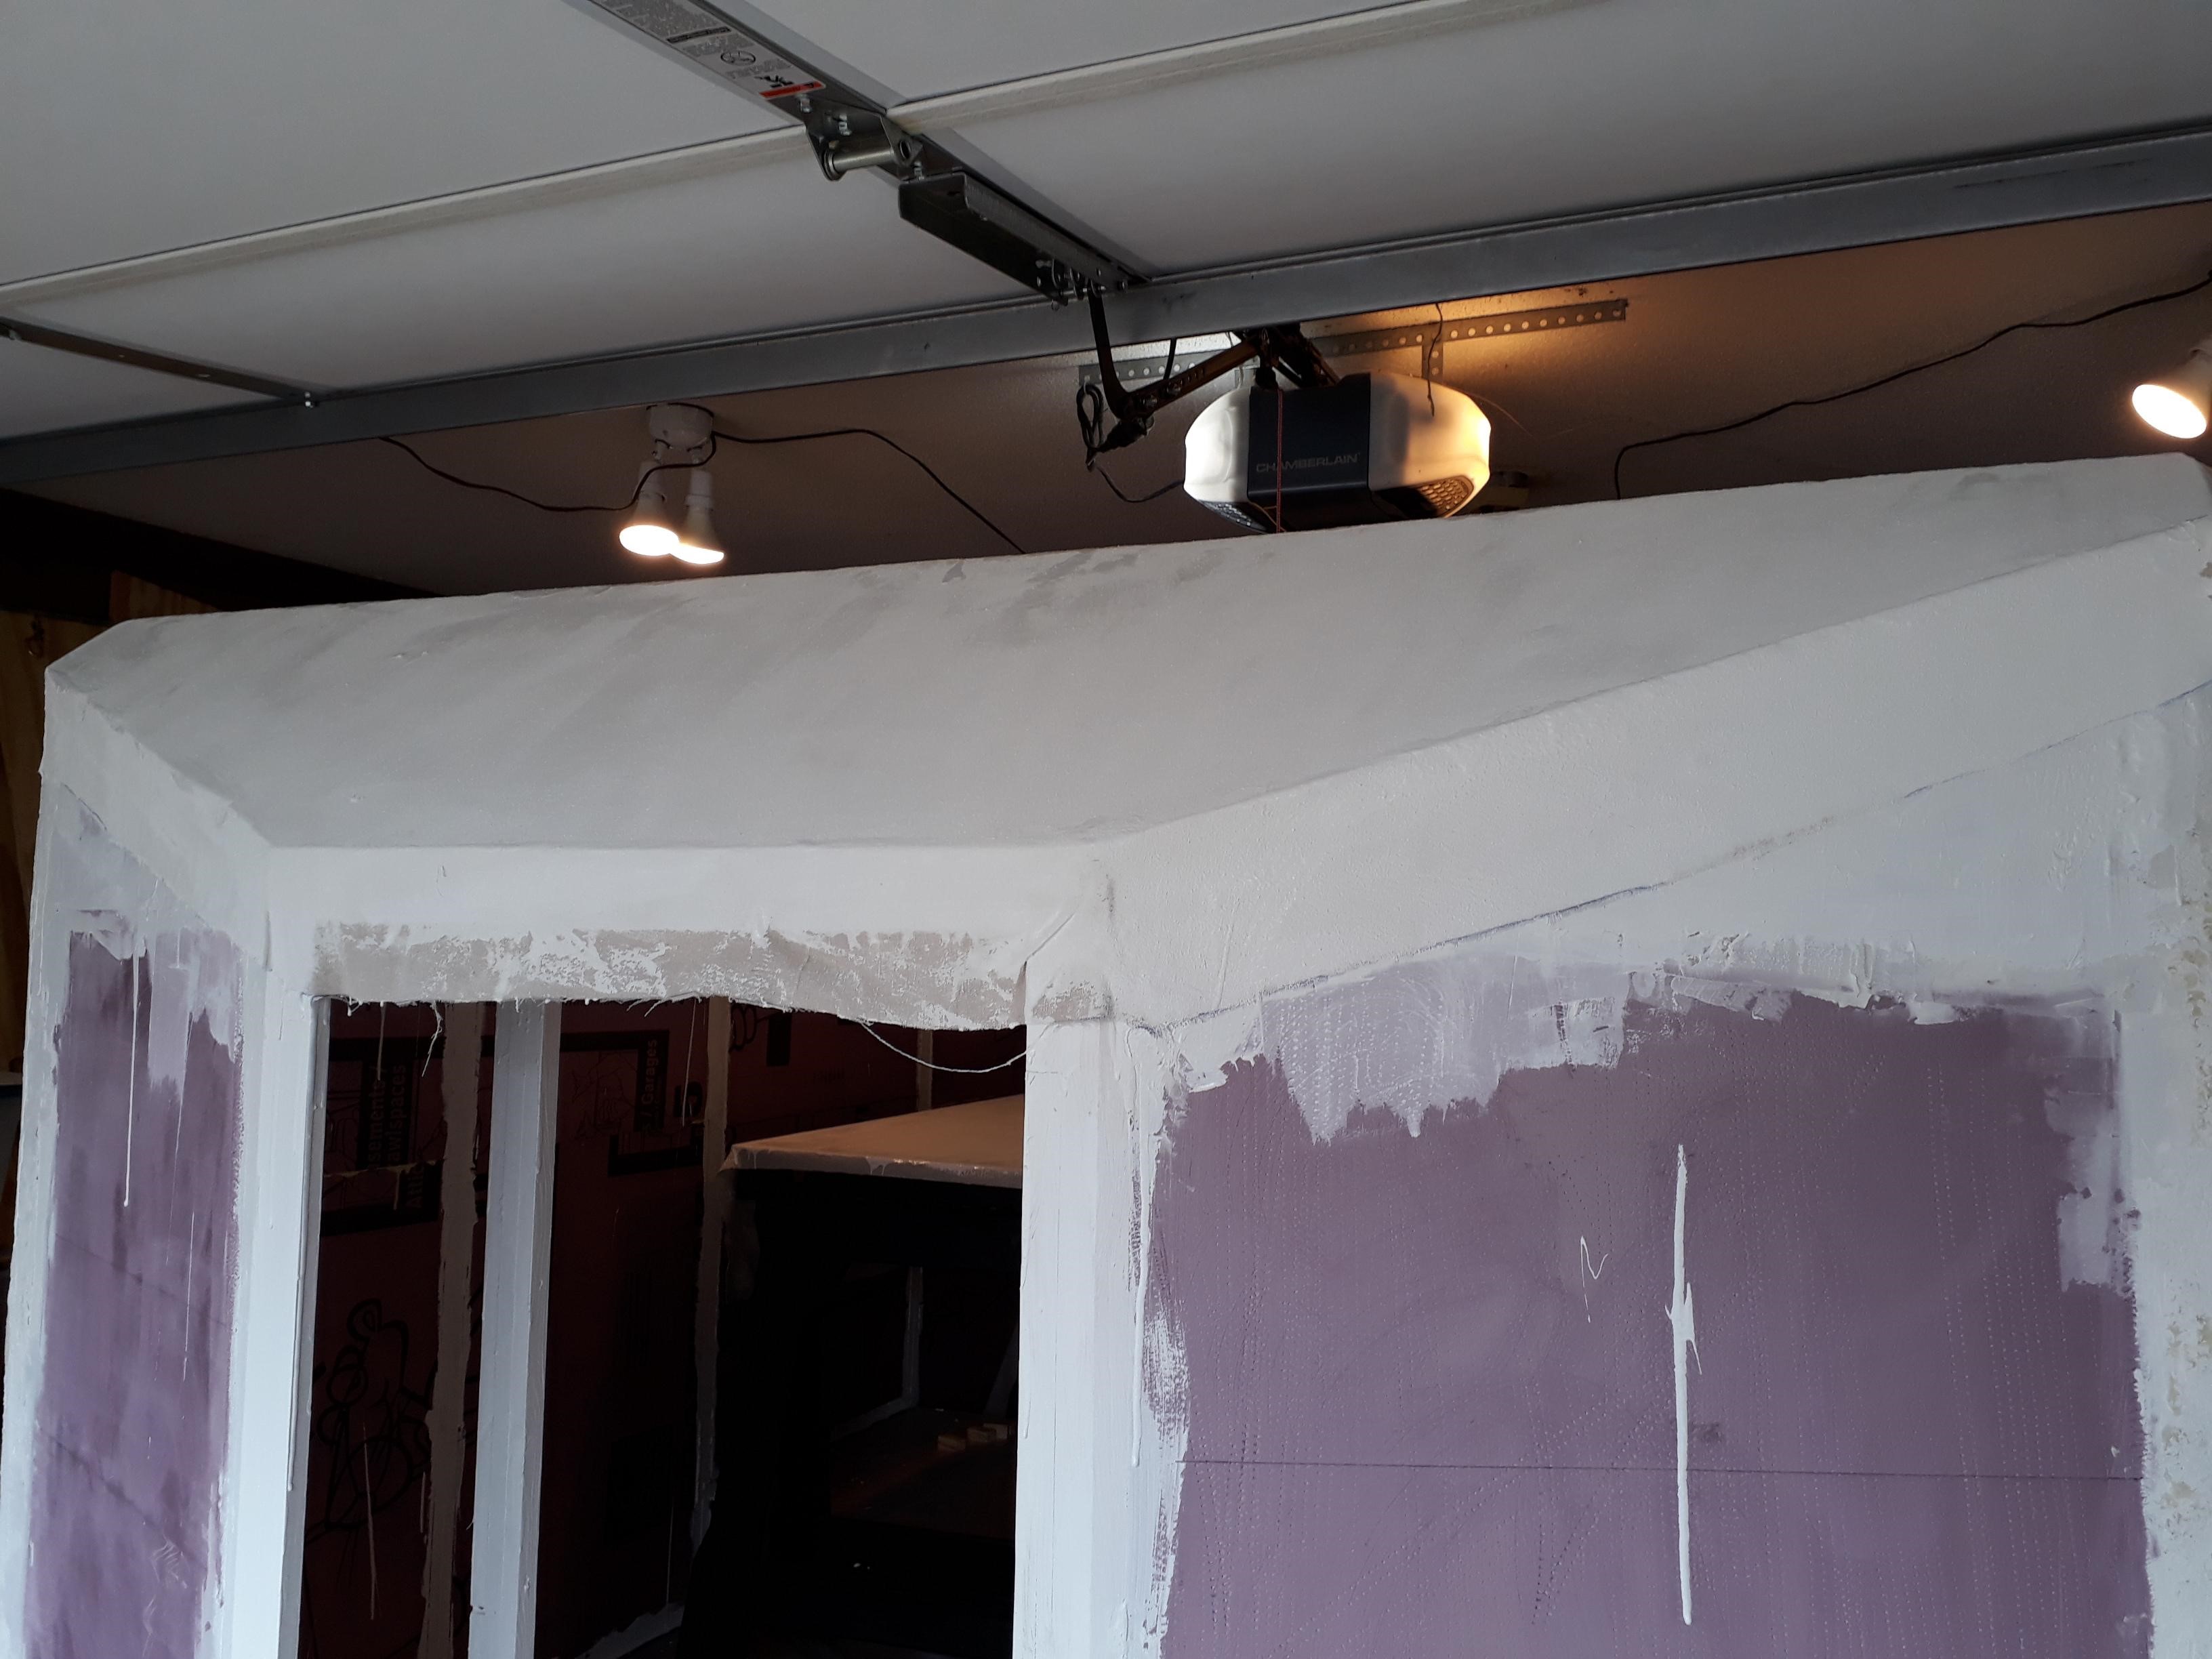
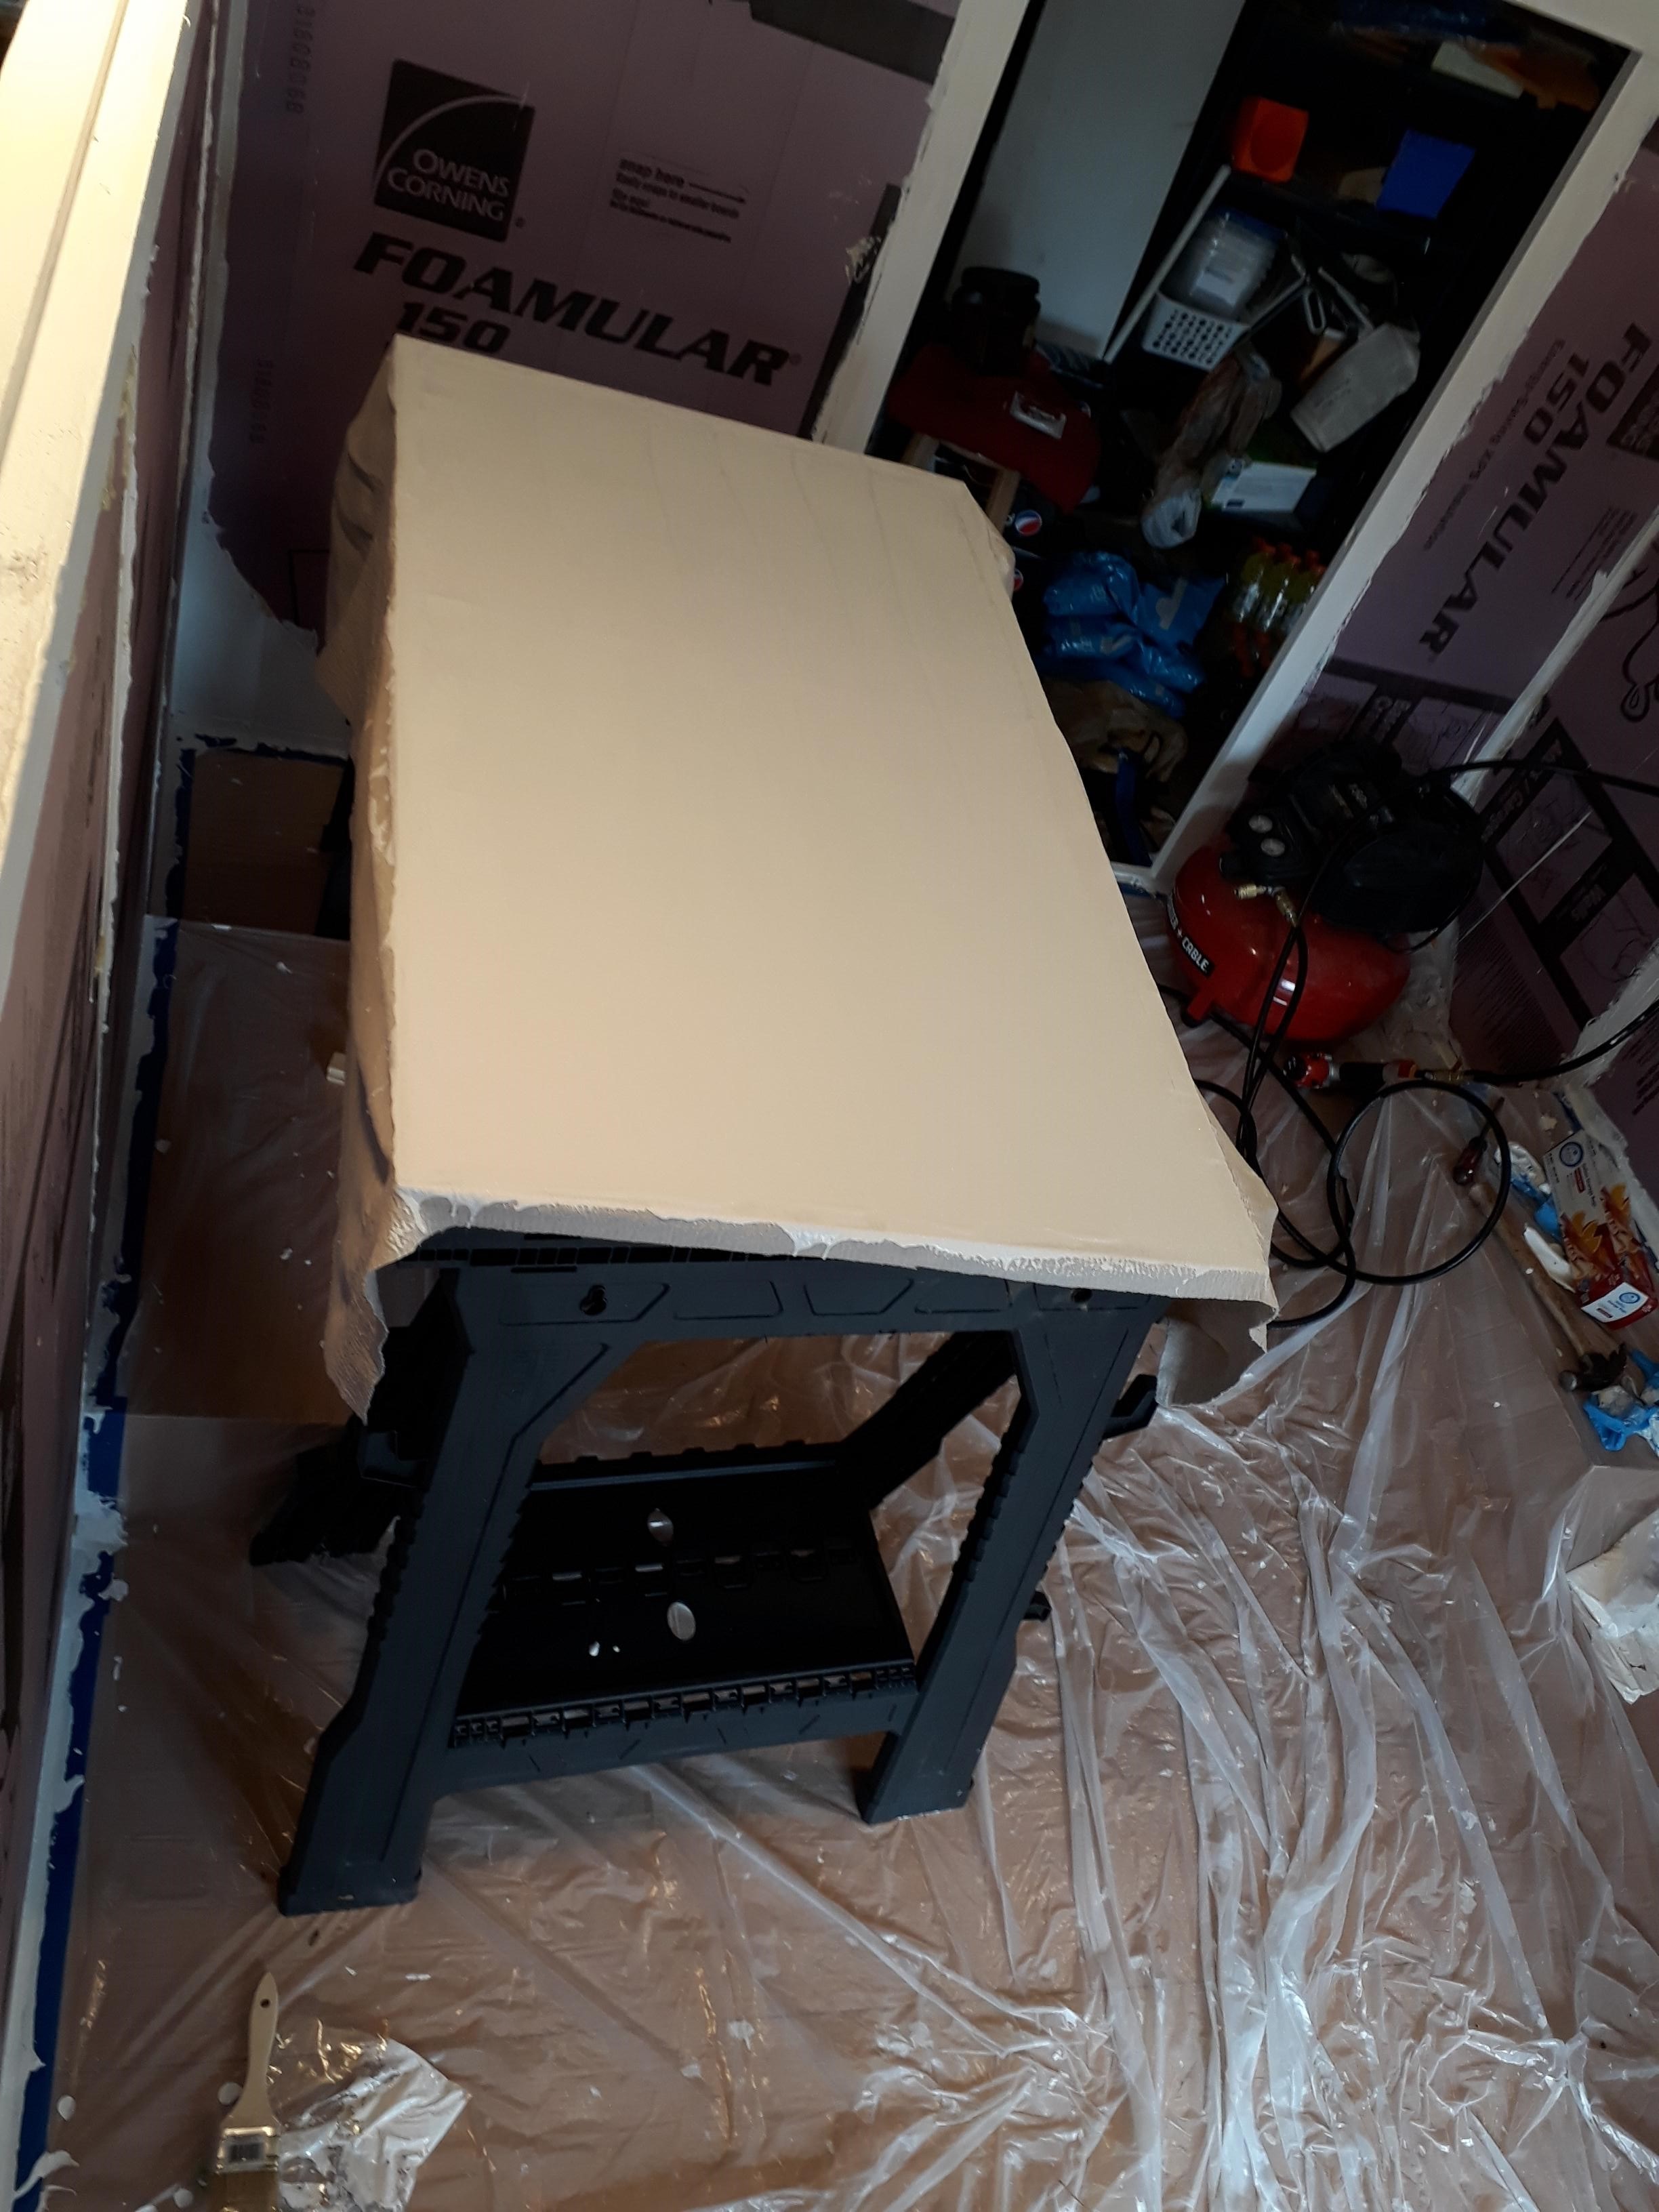
More fun with Poor Man’s Fiberglass. Yesterday I did the top of the tapered front end. This morning I did the two sides. Because it tapers, these sides range from about 4′ tall to 5′ tall and about 3′ wide. I did both sides. I am using 4’x12′ painter’s canvas from Harbor Freight. I’ve not actually measured them before washing yet but they apparently shrink up substantially in the wash. I washed this one twice to get the lint out (I could make my own paper with the amount of lint that came out of the dryer). Anyway, it is still most of 4′ wide but only about 10′ long now. As long as they don’t shrink any more than that I can cut them in half and that will be long enough for a side. Since these wrapped around each side about a foot I can probably finish each side with one tarp. Two for the back and two for the top. I have three in stock so I’ll need to get three more. I used about 80% of a gallon of the primer. At $26/gallon Glidden Gripper is a little pricey but it’s called Gripper for a reason.

3/2/2019 Poor Man’s Fiberglass

I started a new phase in the camper this morning. Skinning. I’m using a technique called “poor man’s fiberglass” which involves canvas or bed sheets and paint or glue. I chose canvas and paint, specifically Glidden Gripper. I tackled what I think is the hardest section first, the tapered front end. In the pictures you can see the canvas and paint on the top front. Next is that same piece of canvas anchored behind the rigid foam. The anchor is probably not really necessary but I had a gap that would collect water so I’m filling the gap and securing the canvas the will take the brunt of the wind. Finally while I had the can open I put canvas on the front hatch. I picked up a $10 paper coverall from HD before I started which should last me for a while. Once covered a few layers of cheap paint will go over this and then some better paint.

2/24/2019 Power Panel


To misquote Tom Hanks, I Made Power! I’ve done a connection test to see if I understood it all. John Reed can feel free to critique my setup as I picked his brain for this. I cut the outlet end of a cheap extension cord to stand in for the 30 amp power cord that will ultimately be there. Two 20 amp circuit breakers feed the two outlets on the left, one each. An LED bulb lamp is plugged in to the outlet. The power source was plugged into a power strip with surge protection just in case but it all worked as planned. One minor detail is the bus is expecting a larger wire and I couldn’t get it to close on the extension cord so I had to screw that in one of the other screws on the bus. But it’s all one piece of metal so I figured the worst that could happen is the entire city would go dark. In the camper on breaker will supply the charger/converter and the other will supply two GFCI outlets in the cabin. Room for two more should I need it.

LinkedIn
LinkedIn
Share